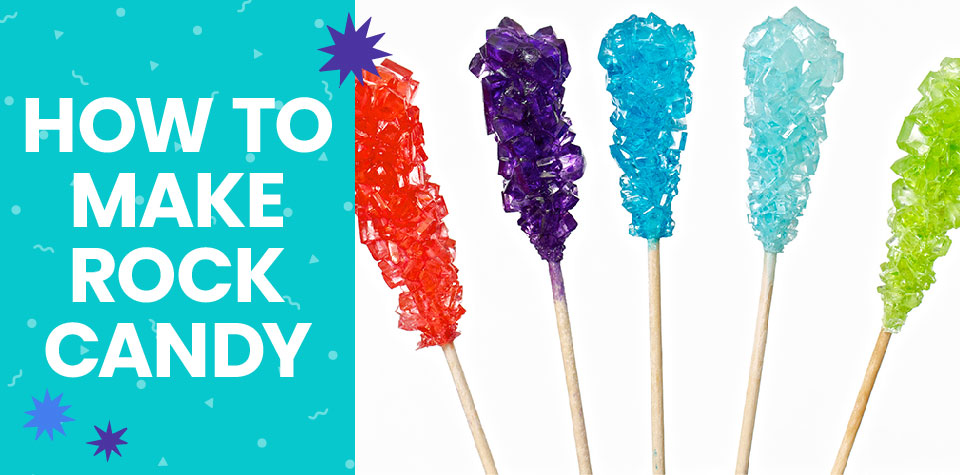
How to Make Rock Candy: A Fun and Delicious Treat
What’s sweet, brightly colored, and teaches kids about science? Rock candy! This crystalized treat is a confectionery classic that many know and love, but did you know it has a history that’s millennia in the making?

Rock candy likely originated in India, where evidence shows people first boiled sap from sugar cane to make refined sugar five thousand years ago. From there, sugar began to spread to China, the Middle East, and parts of the Mediterranean, and each culture put its own spin on finding yummy things to make with it.
Northern Europeans got their first dose of refined sugar in the eleventh century, and the sweetener gradually gained popularity—but not necessarily for its taste. Sugar candy was originally considered a medicine used to treat a wide range of illnesses. Shakespeare even referenced it in his sixteenth-century play Henry IV as a remedy for a sore throat (“. . . and one poor pennyworth of sugar-candy to make thee long-winded . . .”).
As sugar became more accessible, cooks began experimenting with different ways to use it worldwide. Before long, nearly every country had its own unique candies, pastries, and countless other sweet treats! Even though we’re able to enjoy an endless variety of desserts these days, thanks to the ingenuity of chefs from around the globe, rock candy has stood the test of time. Why do we love rock candy so much? Simple! Not only does it satisfy everyone’s sweet tooth, but making rock candy with kids encourages their interest in science. This activity teaches children about the molecular structure of granulated sugar, which has a hexagonal prism shape, and it lets them witness delicious chemistry in action.
How to Make Rock Candy
This sugary treat has been popular worldwide for ages. Now, you and your children can make it at home with this easy rock candy recipe. Here’s how:
Ingredients:
- 3 cups of sugar
- 1 cup of water
- Food coloring (optional)
- Flavoring extract (optional)
Materials:
- Saucepan
- Wooden spoon
- Plate
- Wooden skewers/sticks
- Clothespins or binder clips
- Narrow glass or small-mouthed jar, such as a Mason jar (a clothespin should be able to fit on top of the opening)
Directions:
- Pour the water into a saucepan, place over medium-high heat, and bring to a boil. Adults (or older kids with close supervision) should handle this step.
- Add the sugar to the hot water ½ cup at a time while stirring constantly. If you have older children, they can help with the process (one of you stirs while the other pours), but younger ones will need to observe this step from a safe distance. Continue stirring until you can no longer dissolve any more sugar, making a saturated solution (just like the Stalactite on a String experiment that expands on the Caves and Crystals kit from our Science Expeditions subscription box). Work patiently, making sure the sugar dissolves completely.
- Turn off the heat, and allow the mixture to cool for at least 15 minutes. While it does, have your young helpers pour a small amount of sugar onto a plate.
- Give your children wooden skewers and have them dip about ⅔ of each skewer into the warm sugar-water solution. Next, roll the wet part of the skewers on the plated sugar until they’re coated. The sugar coating the skewers will act as “seeds” to help sugar crystals grow (similar to the Grow Your Own Crystal experiment). Set them aside to dry.
- Carefully pour the warm sugar-water solution into the glass or Mason jar (adults and older kids should do this part). Add the optional flavoring extracts and drops of food coloring.
- Have your kids place clothespins on the non-coated part of their skewers and gently lower the sugar-coated segment into the glass or jar. The skewers should hang vertically without touching the sides or bottom of the glass.
- Set each glass or jar somewhere it won’t be disturbed.
- Now it’s time to be patient. Over the coming days, the water in the glass will gradually evaporate, leaving a highly saturated sugar syrup. The remaining sugar molecules will begin to arrange themselves on the skewer, creating the angular sugar crystals we so fondly call rock candy. This process is called nucleation. It happens slowly, but it’s a lot of fun to observe!
- After three to seven days, your edible crystals will have fully formed. Remove the skewers from the glass, and enjoy your homemade rock candy!
Safety note: Depending on varying environmental conditions (like temperature and light), always carefully check your rock candy for any signs of mold before eating.
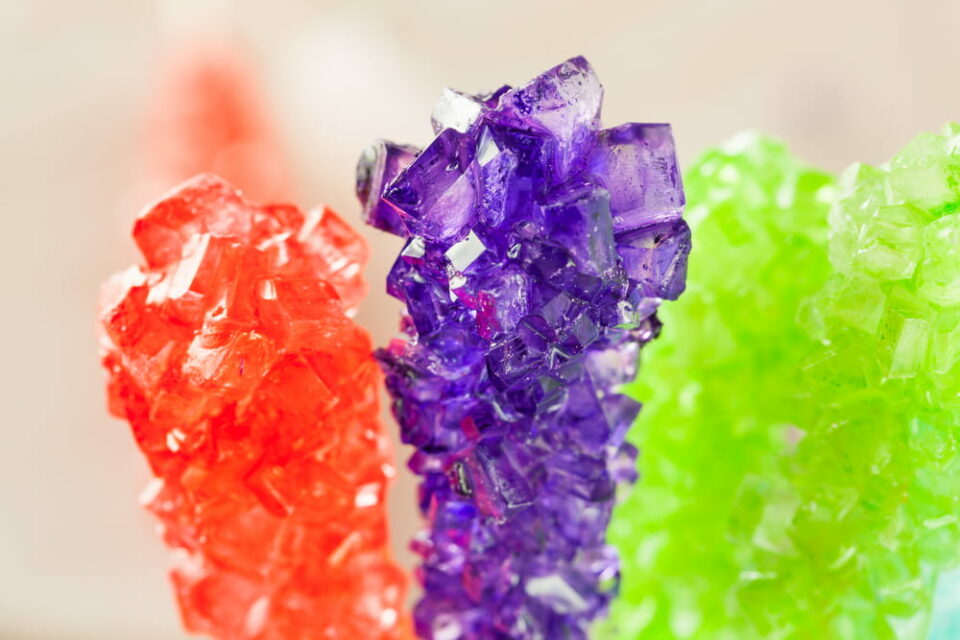
Sugar Crystals That Are Really Tasty
Most kids who make rock candy will be delighted with the final result of munching on these sweet crystals. You can even divide your sugar solution into several jars so everyone can add their favorite flavors and colors. When your crystals form, you’ll have a rainbow of rock candy!
This simple recipe helps make studying science not only fun, but tasty too. Just remember to be patient because rock candy can be temperamental. Don’t be discouraged if it doesn’t grow perfectly the first time—you can always try again. After all, that’s what science experiments are all about!
After you and your children master the science of rock candy, why not try different candy recipes like homemade lollipops or turn snack time into a culinary adventure with fun everyday recipes like these? No matter what you cook up, every recipe you make with your young chefs is an opportunity to connect, explore, and practice new skills together.