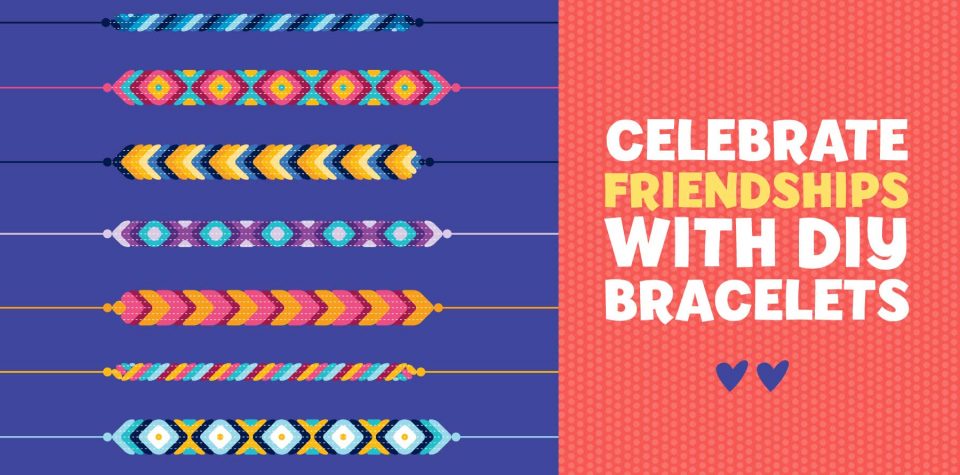
Celebrate Friendships Around the World with DIY Bracelets
International Friendship Day is July 30! Help your kids celebrate the special friendships in their lives by making colorful friendship bracelets. Whether your kids have friends next door, a state over, or across the ocean, these bracelets are sure to let their friends know that they are loved. You don’t have to limit these bracelets to friends, though! If your kids are feeling extra grateful for the people in their lives, they can always make a bracelet for a family member, a favorite teacher, or even the neighborhood mail carrier!
Supplies:
- Embroidery floss
- Tape
Basic Friendship Bracelet Knots:
Forward Knot:
Step one: Take the leftmost strand of floss and bend it over the strand to its right to create a “4.”
Step two: Wrap the tail of the “4” around the other strand by pulling the tail out through the open space of the “4.”
Step three: Hold the other strand straight and tighten the knot so that it reaches and touches the top knot. Repeat the forward knot with the same strands you just used. (Friendship bracelets always need double knots, otherwise they become twisted).
Backward Knot:
Step one: Take the rightmost strand of floss and bend it over the strand to its left to create a backwards “4.”
Step two: Wrap the tail of the backwards “4” around the other strand by pulling the tail out through the open space of the backwards “4.”
Step three: Hold the other strand straight and tighten the knot so that it reaches and touches the top knot. Repeat the backward knot with the same strands you just used.
Candy Stripe:
Step one: Choose as many colors of embroidery floss you’d like. The more colors you include, the wider your bracelet will be. Cut the floss to about 32 inches and tie the strands together, leaving a three-inch tail. Secure the bracelet to a sturdy surface with a piece of tape.
Step two: Arrange your colors in the order you want them to appear. Working from left to right, tie two forward knots around the strand to its right.
Step three: The strand you just tied will have moved one slot to the right. Repeat step two with the rest of the strands in the row until the color you began with is all the way to the right.
Step four: Repeat steps two and three with the new leftmost strand and work your way across the row.
Step five: As you continue this process, you’ll begin to see stripes forming down your bracelet. Continue making new rows until your bracelet is the desired length.
Step six: To finish your bracelet, tie a knot as close to the patterned rows as possible. Leave a three-inch tail and cut.
Step seven: Tie the bracelet around a friend’s wrist and celebrate the beauty of friendship!
Simple Knot:
Step one: Choose as many colors of embroidery floss you’d like. Cut the floss to about 32 inches and tie them together, leaving a three-inch tail. Secure the bracelet to a sturdy surface with a piece of tape.
Step two: Pick a color to start with. Using your starting color’s strand, make a forward knot around the rest of the strands.
Step three: Repeat step two, switching colors as often as you’d like. Continue until your bracelet reaches the desired length.
Step four: To finish your bracelet, tie a knot as close to the patterned rows as possible. Leave a three-inch tail and cut.
Step five: Tie the bracelet around a friend’s wrist and celebrate the beauty of friendship!
Chevron:
Step one: Choose as many colors of embroidery floss you’d like. The more colors you include, the wider your bracelet will be. Cut the floss to about 32 inches and tie them together, leaving a three-inch tail. Secure the bracelet to a sturdy surface with a piece of tape.
Step two: Arrange your strands so that the color order mirrors itself. Take the leftmost strand and tie two forward knots around the strand to its right.
Step three: Take the rightmost strand and tie two backward knots around the strand to its left. Both outside strands should now be one spot closer to the center.
Step four: Repeat steps two and three with the remaining strands until the original outside strands are both in the center.
Step five: To complete the chevron row, knot the two center strands around each other twice. You’ve completed one chevron row! It should look like a “v.”
Step six: Repeat steps two through five until your bracelet reaches your desired length.
Step seven: To finish your bracelet, tie a knot as close to the patterned rows as possible. Leave a three-inch tail and cut.
Step eight: Tie the bracelet around a friend’s wrist and celebrate the beauty of friendship!