These Cute Easter Bunny Crafts Are a Hopping Good Time
Every Easter Sunday, many kids around the world wake up to discover a special someone hopped over for a visit. He might have left chocolate eggs scattered around the living room or plastic eggs filled with goodies in the backyard. No matter where they’re hidden, one thing is certain: these eggs came from the Easter Bunny.
This year, get your family excited for Easter with art projects starring the adorable bunny who brings joy to families all around the world. Gather your supplies and try these fun and easy Easter crafts for kids!
Where Did the Easter Bunny Come From?
The Easter Bunny’s visit and the eggs he hides Saturday night are a long-standing Easter tradition. But where did it begin?
Records from seventeenth-century Germany describe Easter celebrations during which children hunted for eggs left by the “Easter hare,” but historians believe the tradition is even older. In 1835, writer Jacob Grimm (of the Brothers Grimm fairy tales) reported that he believed the Easter Bunny could be traced back to Germany’s pagan roots. Grimm suggested the modern holiday “Easter” originated in the eighth-century spring festival of “Eostre.” This festival honored the goddess of fertility and spring—and the hare was her main symbol.,
When German settlers came to the United States in the 1700s, they brought the tradition of the Osterhase (Easter Bunny) with them.
The Colors of Easter
When gathering supplies for your kids’ Easter crafts, it’s important to keep in mind the holiday’s colors. Just as Christmas has red, white, and green, Hanukkah has blue and white, and the Indian festival Holi features every color of the rainbow, Easter has a particular color palette. Look for hues such as:
- Baby blue
- Pastel pink
- Light violet
- Any shade of yellow
- Pale green
These colors are particularly popular at Easter because they mirror the springtime colors that typically appear in nature around the holiday. Before your family tries out our favorite easy Easter crafts (step-by-step instructions below), make sure you have pastel-colored supplies handy!
3 DIY Easter Bunny Crafts for Kids
Before the Easter Bunny hippity-hops down your street, your kids can get into the Easter spirit by making bunny-themed crafts. Children can perform each step of these activities with supervision, but an adult may need to help younger children when necessary.
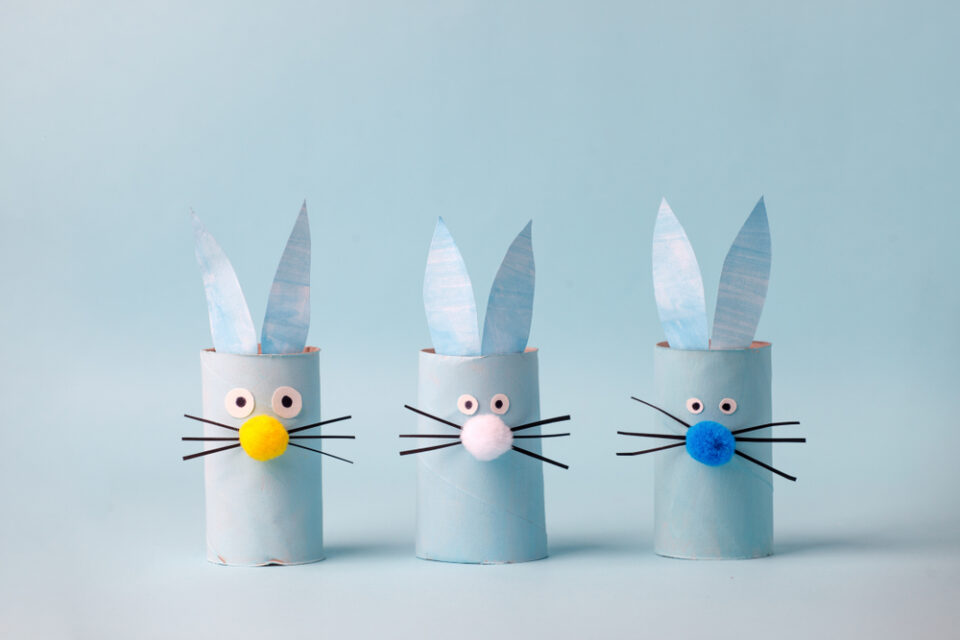
Easter Bunny Paper Rolls
Looking for a fun and simple way to decorate for Easter? These charming little rabbits are a perfect addition to kids’ rooms or a mantel or shelf.
Materials
- Toilet paper rolls
- White craft paint (or your children’s favorite colors)
- Small googly eyes
- Pipe cleaners (pastel colors recommended)
- Small pom-poms (pastel colors recommended)
- White and pink cardstock
- Child-safe scissors
- Nontoxic glue
- Black washable markers (optional)
Directions
- Kids paint toilet paper rolls in their favorite colors. A few coats of paint will be necessary to cover the rolls completely. Young children may need assistance from an adult.
- Set the paper rolls aside to dry. While you wait, it’s time to assemble the bunnies’ ears. Cut a 3-inch (7.5-centimeter) long rabbit ear shape (like a triangle with rounded sides) out of white cardstock. Next, cut a 2-inch (5-centimeter) version of the same shape out of pink paper. Glue the small ear onto the center of the larger one and set aside.
- Repeat Step 2 until you have 2 ears per toilet paper roll.
- Once the craft paint is dry, kids glue two googly eyes about ⅓ of the way down from the top of each toilet paper roll.
- For each bunny you’re making, cut 1 pipe cleaner into 3 pieces about 3 inches (7.5 centimeters) long (an adult will need to help younger children). Group the pipe cleaners together and twist them around each other at the center of the bundle. Glue the twisted section of the bundle to the paper roll to create your bunny’s whiskers.
- Glue a small pom-pom on top of the twisted section of the whiskers. This is the bunny’s nose. Repeat for each bunny.
- Glue the ears side-by-side to the inside of the top of the toilet paper roll behind each bunny’s face, leaving 2.5 inches (7 centimeters) peeking above the edge.
- To give your bunnies a little extra personality, use a black marker to draw a smiling mouth.
Bunny Ears Headband
With these adorable headbands, your kids can dress up like the Easter Bunny. This craft is easy to put together and gives any Easter outfit extra festive flair.
Materials
- 2 white pipe cleaners per child
- 2 pink pipe cleaners per child
- Nontoxic glue
- 1 plastic headband per child
Directions
For each pair of bunny ears:
- Bend 2 white pipe cleaners in half to create a bunny ear shape (a long oval with a rounded point opposite the end where the tips of the pipe cleaner meet). Cross the two ends over each other, leaving about 1 inch (2.5 centimeters) of both pipe cleaners below the point where the two ends cross.
- Create the same shape with 2 pink pipe cleaners, this time leaving about 2 inches (5 centimeters) below the intersection point. This will be the inside of your bunny ears.
- Place a folded pink inner ear over a white outer ear, matching up the 2 points of intersection at the bottoms of the ear shapes. The top of the pink shape should be about 1 inch (2.5 centimeters) below the top of the white one. Twist the intersection points at the bottom of the ear shapes around each other to connect them.
- Place 2 bunny ears on the top of a plastic headband, about 2 inches (5 centimeters) apart. Glue the intersection point of the pink and white ears to the headband so they’re sticking straight up, then wrap the excess pipe cleaner ends around the headband to secure the ears in place.
- Put on your pipe cleaner headbands and hop around like bunnies!
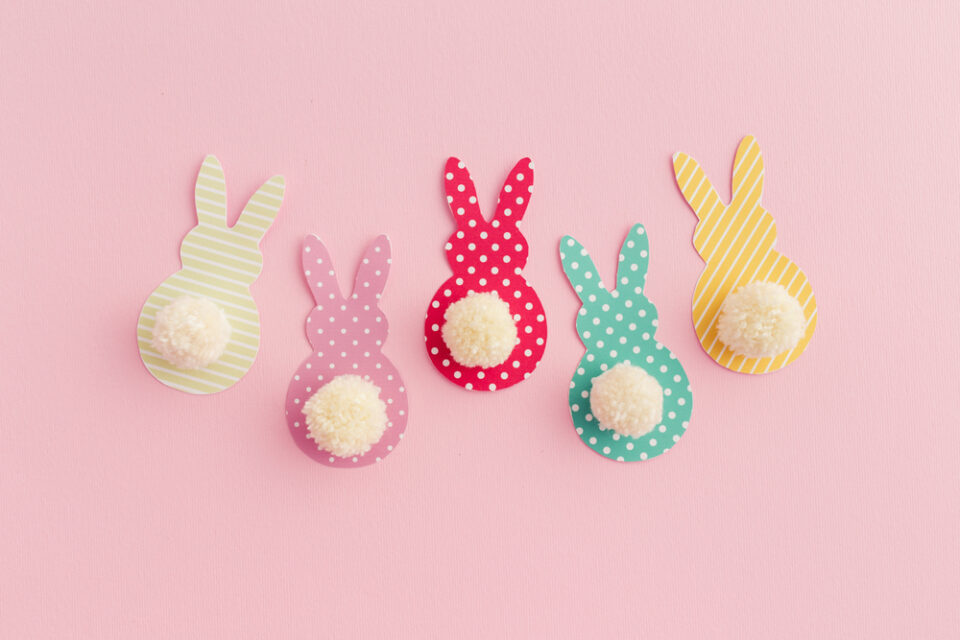
Easter Bunny Pom-Pom Garland
This garland serves as a reminder of the Easter Bunny’s upcoming visit, and the brightly colored paper puts everyone in the mood for spring.
Materials
- Scrapbook paper or cardstock in your kids’ favorite colors
- Child-safe scissors
- Fluffy, medium-sized white pom-poms (1 per bunny)
- Nontoxic glue
- Long strand of yarn
Directions
- Draw a bunny stencil on scrap paper. Begin by drawing a circle about 3 inches (7.5 centimeters) in diameter. Next, create a circle 2 inches (5 centimeters) in diameter directly above it with 2 bunny ears about 1.5 inches (about 3.5 centimeters) tall at the very top. (An adult may need to do this step for younger children.)
- Use this stencil to cut out as many bunnies as you want from scrapbook paper or cardstock. (We recommend at least 10.)
- Glue a pom-pom to the center of the bottom circle on each bunny to create a fluffy tail.
- Glue the bunnies’ ears to a long strand of yarn. Place each bunny about 2 inches (5 centimeters) apart, leaving extra yarn on the ends to use to hang the garland.
- Let the glue dry completely, then hang your Easter decoration for everyone to see.
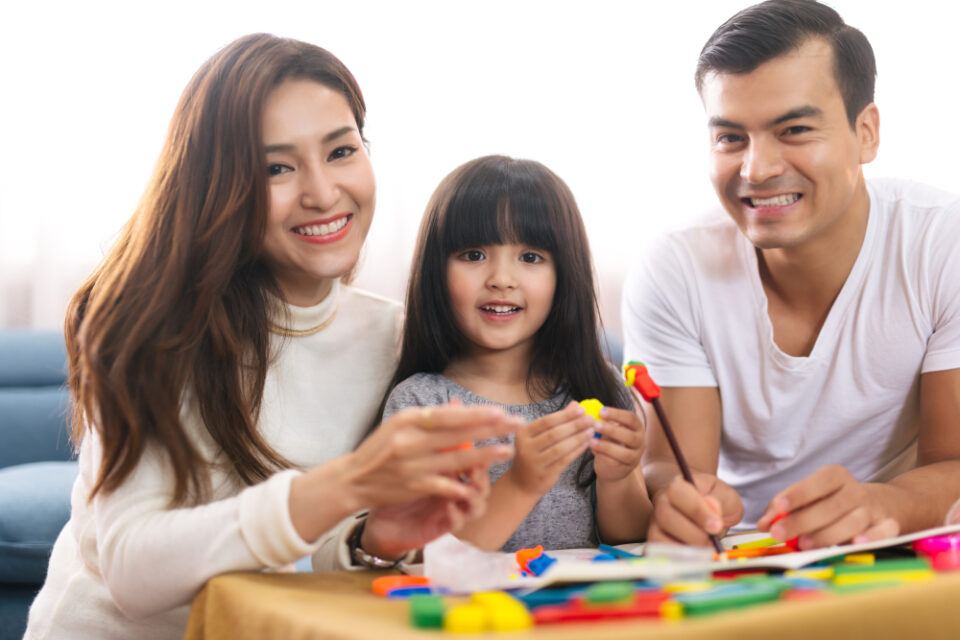
Keep Crafting All Year Long
These DIY Easter crafts are a great way to have fun with your kids leading up to the holiday. But crafting isn’t just for holidays and special occasions—and thanks to our Craft Discovery subscription box, your kids can get creative all year long.
This box is the perfect gift for kids who love creating and hands-on learning. Every month, your child will receive seasonal craft projects about art, science, geography, and culture designed for kids ages 5–8.
Or you can take your Easter crafts to the next level with the Little Passports Easter Egg Artist craft kit. It makes for a great activity to get your Easter baskets ready, and children of all ages can have fun coloring eggs. Combine the activity with exciting Easter Trivia, and you have a new holiday tradition!