Create Paper Plate Masterpieces with These Easy Crafts
Children are naturally creative. They can find ways to have fun with just about anything: A bunch of flowers can be a crown, a piece of paper can transform into a pinwheel or airplane, and a pipe cleaner can become a one-of-a-kind creature.
Kids can even turn a paper plate into a delightful creation—all it takes is a few simple supplies from around the house. Round up your young artists and check out these paper plate crafts!
Three Easy Paper Plate Crafts
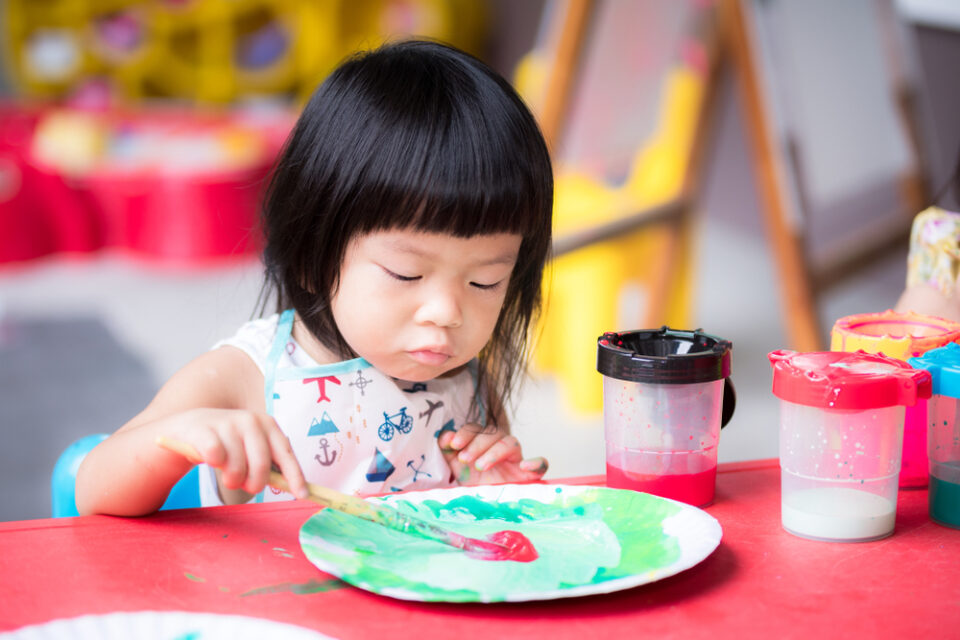
Paper plate crafts are perfect for children of all ages—with a blank round shape to work from, the creative possibilities are endless. Children can perform each step of these crafts with supervision, but an adult may need to help younger children when necessary.
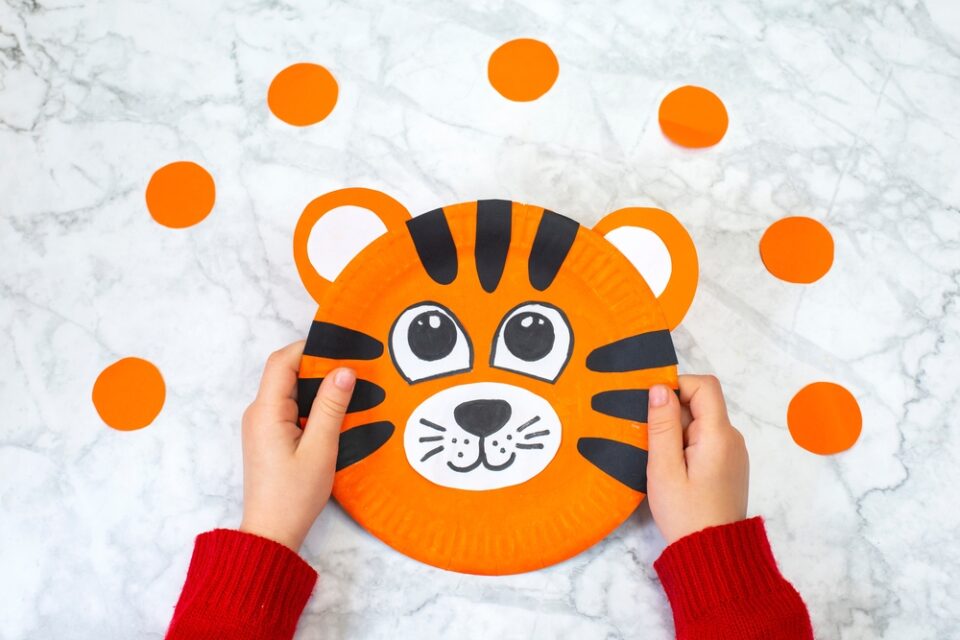
Paper Plate Tiger
This animal paper plate painting idea transforms an everyday item into an adorable tiger’s face. Your children can use this craft to decorate their rooms or cut holes in the eyes to make a mask.
Materials
- Paper plates (1 per child)
- Nontoxic orange paint
- White cardstock
- Colored cardstock (pink, orange, and black)
- Nontoxic glue
- Paintbrushes
- Child-safe scissors
- Black washable markers
Directions
- Cover the paper plate with a thin layer of orange paint and allow it to dry completely.
- Cut out 2 2-inch (5-centimeter) ovals from white cardstock and 2 1-inch (2.5-centimeter) circles from black cardstock. Trim off the bottoms of the ovals to create eye shapes (see image above.) Glue the shapes together to create the tiger’s eyes, placing the black pupils in the center of the whites. Once dry, glue the eyes to the paper plate, approximately 2 inches (5 centimeters) below the top of the plate.
- Cut a 3-inch (7.5-centimeter) oval shape from white cardstock and use the markers to draw the tiger’s nose, mouth, and whiskers on it. Glue 1 inch (2.5 centimeters) below the eyes.
- Cut 5 1-inch (2.5-centimeter) strips of black cardstock and round the corners with scissors, then cut the strips in half. Glue 9 around the edges of the plate, with 3 at the top and 3 on each side (like in the picture above). These will be the tiger’s stripes.
- Cut out 2 3-inch (7.5-centimeter) circles from orange cardstock and 2 2-inch (5-centimeter) circles from pink cardstock. Glue them together, placing the pink circles in the center of the orange ones. These will be the tiger’s ears.
- Glue the circles to the back of the plate on either side of the stripes at the top of the face, leaving half of the ears peeking over the edge of the plate.
Paper Plate Tambourine
Paper plate crafts for kids aren’t just about creating art—they can also make music! With these DIY tambourines, your children can start their own family band.
Materials
- Paper plates (1 per child)
- ¼ cup dried beans (per child)
- Nontoxic glue
- Colorful washi tape
- Washable markers
Directions
- Fold a paper plate in half, double-checking that the edges align.
- Unfold the plate and place a few dots of glue along the edges, leaving a 2-inch (5-centimeter) section unglued. Pinch the two halves back together and seal them shut, allowing the glue to dry completely.
- Use the small opening to pour the dried beans inside the tambourine. Next, finish sealing the plate with glue.
- Wrap the edges of the paper plate in washi tape to ensure the tambourine stays closed (and to add some color).
- Use markers to decorate the tambourine in colorful designs. Once finished, it’s time to shake things up and make some music!
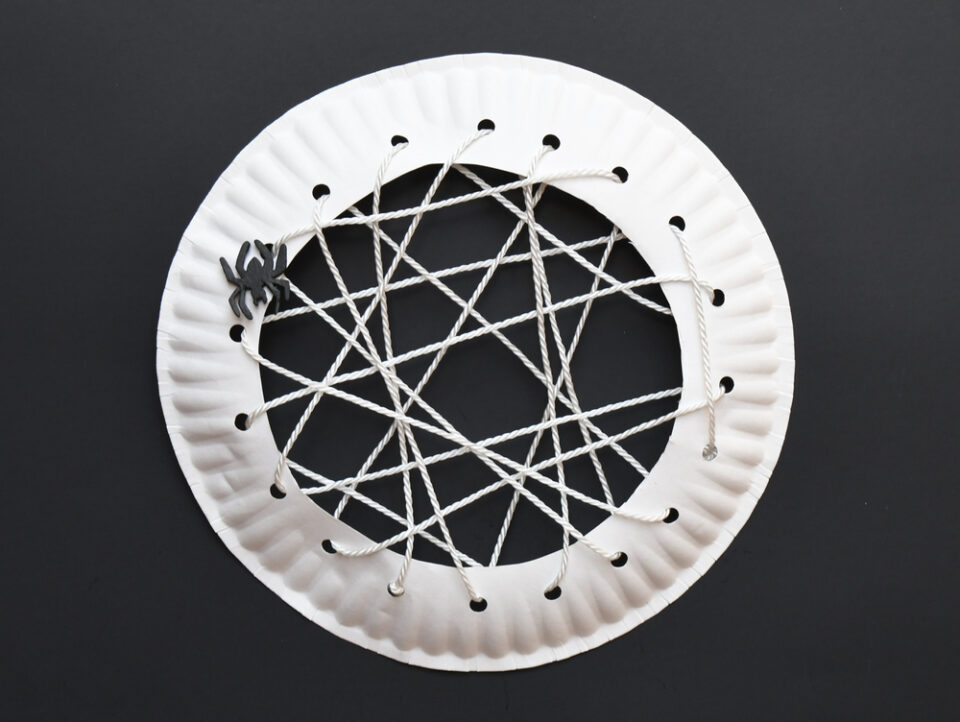
Paper Plate Spider Web
This paper plate craft is perfect for kids who love creepy crawlies. The spiderweb is a great craft to make for Halloween, to help your kids practice their threading skills, or to excite children who love arachnids.
Materials
- Paper plate (1 per child)
- Hole puncher
- Child-safe scissors
- White yarn
- Nontoxic glue
- Plastic spider toy (optional)
Directions
- Use the scissors to cut out a circle from the center of the paper plate, leaving a 2-inch (5-centimeter) border.
- Use the hole puncher to make a ring of 15–20 holes around the plate about 1 inch in from the plate’s inner edge (see image above). Older kids can do this step with supervision, but an adult should punch the holes for young children.
- Cut a long piece of yarn, approximately 6 feet (1.8 meters). Glue one end of the yarn to the back of the plate. Thread the yarn through the holes in the paper plate, alternating holes on opposite sides of the plate. Continue until it resembles a spider’s web.
- Once the weaving is complete, glue the loose end of the yarn to the back of the plate. If using a plastic spider, glue it to the paper edge of the web.
More Arts and Crafts Fun
Art projects are a fantastic way for your kids to express themselves and have a good time—and they also provide a wonderful opportunity for you to get involved and create fun memories as a family.
Looking for creative activity kits that contain everything you need for a fun, educational project? Check out these amazing activities from our Craft Around the World collection:
- Dinosaur Dig: Kids who love dinosaurs will have a blast with this kit, which transports them to an archaeological site in Argentina. They can use excavation tools to uncover dinosaurs buried deep in the sand and check out the accompanying activity booklet to learn more about Argentinean culture (including a delicious alfajores cookie recipe).
- Flying Macaw: With this kit, children build a beautiful build-it-yourself macaw mobile and discover what life is like in Brazil through fun facts and activities. There’s even a recipe for brigadeiros, a traditional Brazilian treat. (You can also check out our macaw paper plate craft!)
- Samurai Drum: If your kids love a catchy beat, they’ll enjoy learning about Japanese music and culture with this craft kit. Inside, they’ll receive an activity booklet where they can practice writing haikus, learn to cook dorayaki (a traditional Japanese snack), and make a koinobori kite. Best of all, this simple craft kit contains everything they need to assemble a taiko (that’s Japanese for drum).
- Party Piñatas: Piñatas are a staple at parties in Mexico, and with this kit, your kids can make their own! They’ll receive everything they need to make two adorable piñatas, plus a colorful papel picado banner perfect for creating a festive atmosphere in any space. Use the included recipe to make some mole sauce and host your very own fiesta!
All the craft kits are designed for kids ages 6 and up. Order one today and turn arts and crafts time into a cultural experience your kids will love.