DIY Origami Desk Organizer
It can be tough for kids to keep their desks organized, especially when small items like paper clips, erasers, and extra pencil leads are floating around. A small box or two to hold loose knickknacks would be a great addition to any child’s desk. Learn the Japanese art of origami and make these super cute origami boxes!
Origami became popular in Japan around the sixth century, and it remains an important part of Japanese culture today. Throughout Japan, origami is a part of school curriculum, with many children learning the art in kindergarten. If your child enjoys this activity and is interested in learning more about Japan, check out our World Edition subscription. They’ll get to spend a whole month exploring the foods, traditions, and customs of Japan! Now, let’s get to making origami!
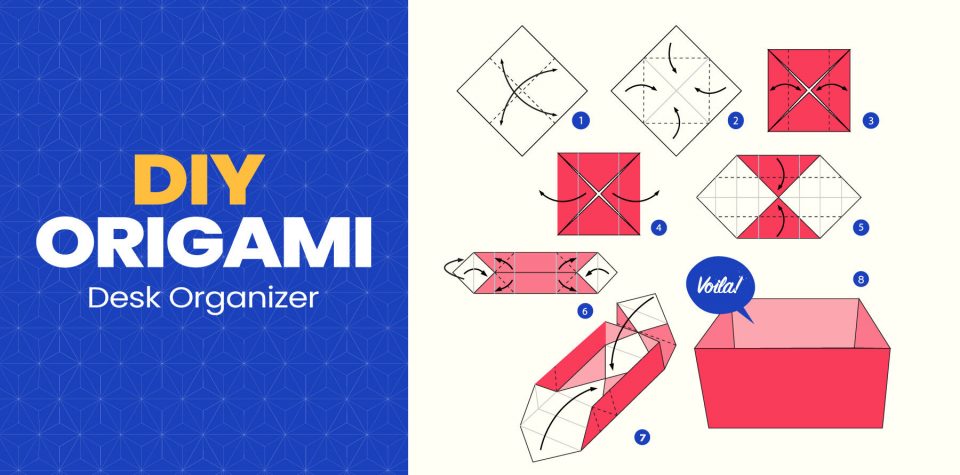
Traditional Masu Box:

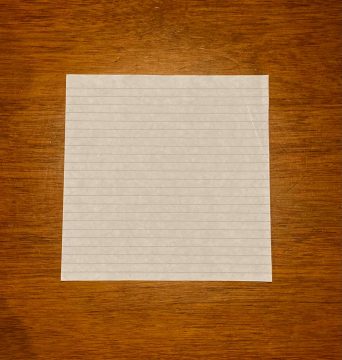
Step one: Cut a piece of paper into a square. If you’re using origami paper, it should already be a square.
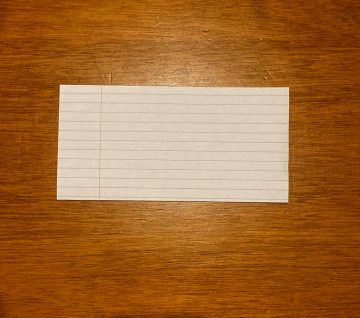
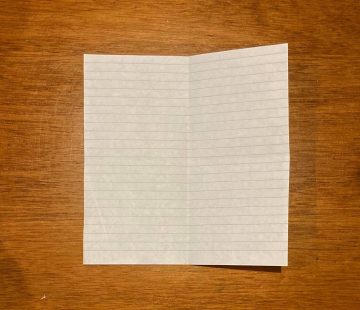
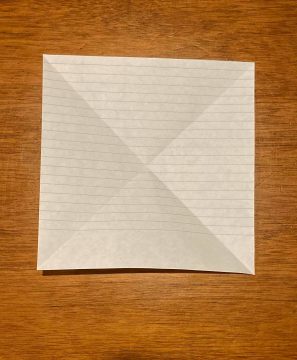
Step two: Fold your square in half. Unfold, and fold it in half again the other way. Unfold. You should have two creases.
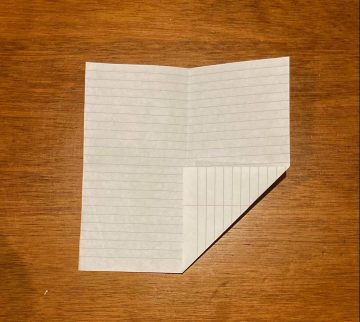
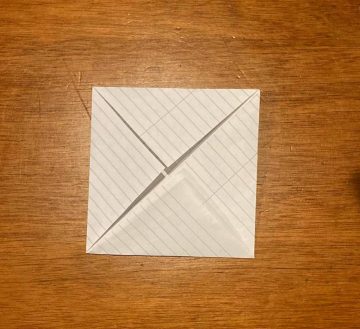
Step three: Fold the corners diagonally into the center.
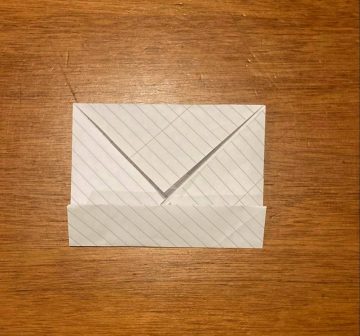
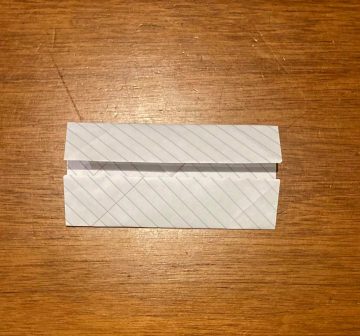
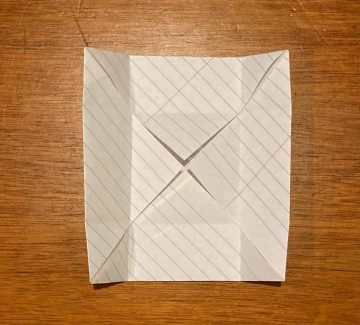
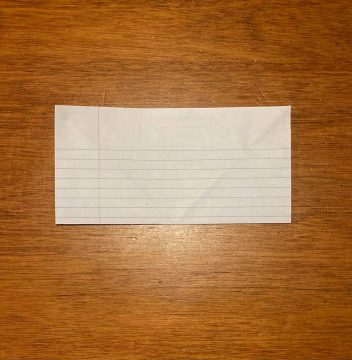
Step four: Fold all four sides horizontally to the center. Unfold.
Step five: Unfold the top and bottom triangles. Fold the sides into the middle. The creases should already be there from the previous step.
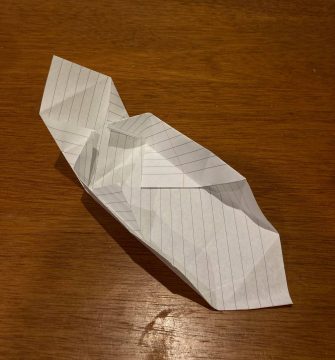
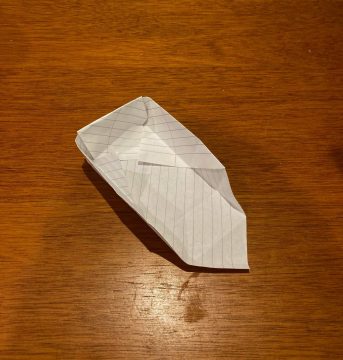
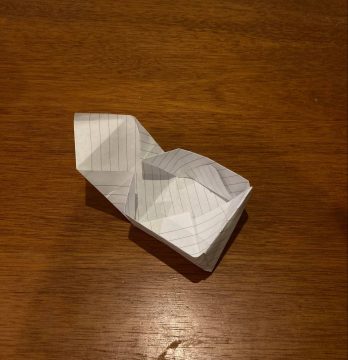
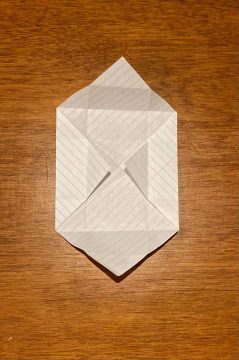
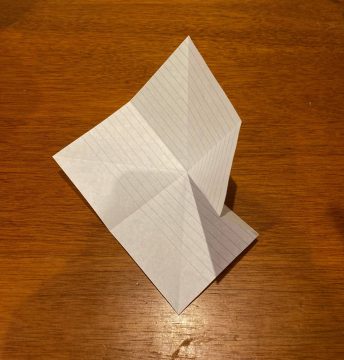
Step six: Gently unfold the paper and fold up one of the sides. The creases should help guide you. Fold down the side. The triangle top should lie flat on the bottom. Repeat on the other side to complete the box.
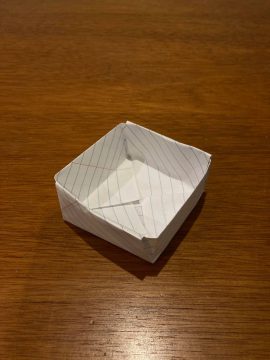
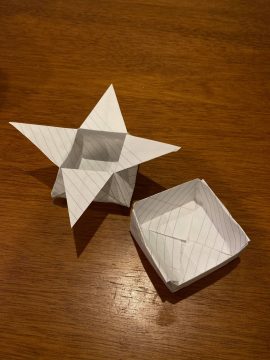
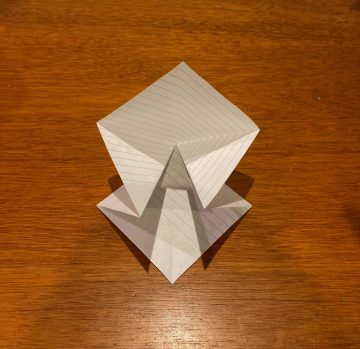
Step seven: Display your box on your desk! Use it to hold paper clips, erasers, or other school supplies.
Star Box:
Step one: Cut a piece of paper into a square. If you’re using origami paper, it should already be a square.

Step two: Fold your square diagonally. Unfold and fold it diagonally the other way. Unfold.

Step three: Fold your square horizontally in half. Unfold and fold it again the other way. Unfold.
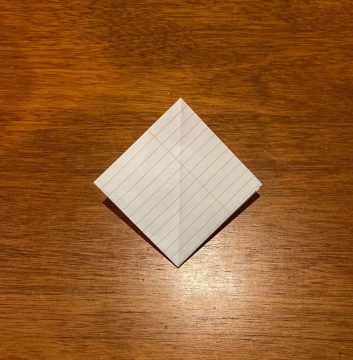
Step four: Fold the corners in as shown in the picture. You should be left with a smaller square.
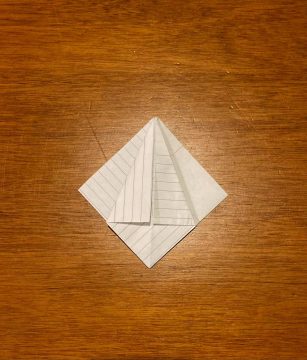
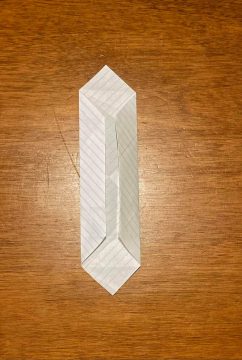
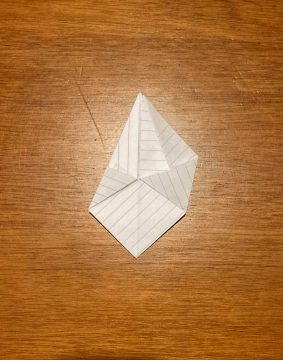
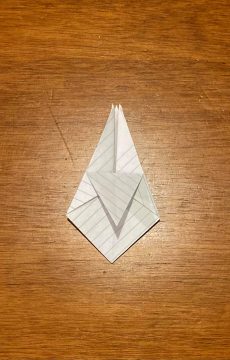
Step five: Fold the sides to the middle so that it creates a skinny triangle. The base of the triangle should be on the side of the square that is closed. The point of the triangle should be on the open side. Do this with all four flaps.
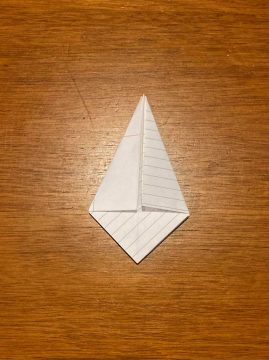
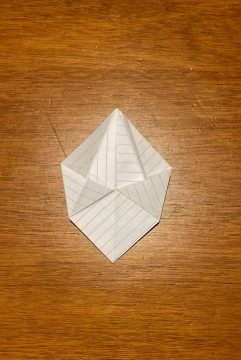
Step six: Fold the bottom of the triangle flaps on all four flaps.
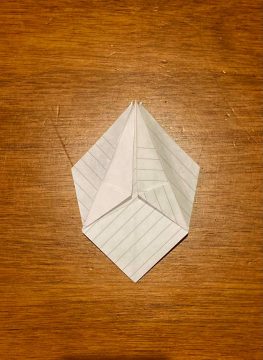
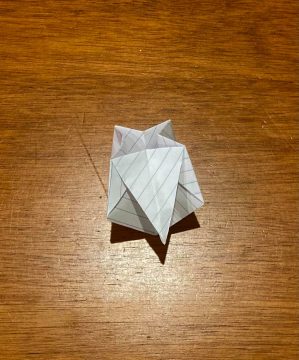
Step seven: Carefully unfold the triangle flaps you just folded and flatten them, as shown in the picture. Do this on all four flaps.
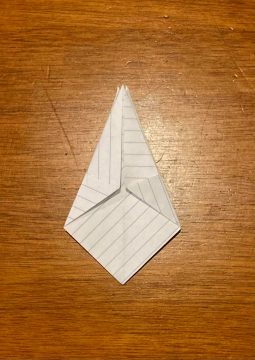
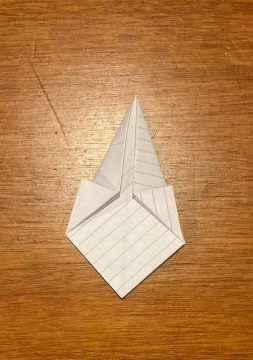
Step eight: Fold the larger triangle flaps behind themselves. Do this for all four flaps.
Step nine: Following the picture, fold down the flap that is facing up. Fold down all four flaps. As you fold the flaps, the box will begin to balloon out.
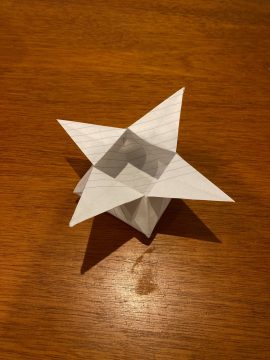
Step ten: Gently use your fingers to push the sides of the box out, and you’re done! Display your box on your desk! Use it to hold paper clips, erasers, or other school supplies.