Let’s Make Peanut Butter–Filled Chocolate Easter Eggs!
Easter eggs have a history reaching all the way back to Mesopotamia and the early days of Christianity, when people dyed eggs after the holiday. Eating eggs on Easter was also a big treat, because they were traditionally avoided during a period of fasting before Easter itself.
Decorating Easter eggs continues to bring holiday joy today. People paint them, festoon them with stickers, hide them in yards and around homes for Easter egg hunts, and create beautiful Easter baskets for kids with them.
Chocolate Easter eggs, which debuted in the 1800s in the United Kingdom, are also a treasured tradition. Over 500 million of them are manufactured every year, and huge numbers are sold around Easter. They come in a wide variety of delicious flavors too—milk chocolate Easter eggs, mini eggs, and eggs filled with caramel, fudge, or delicious peanut butter are all easy to find around the holiday.
Making your own decadent chocolate Easter eggs is easier than you might think. They’re fun and delicious, especially with a homemade peanut butter filling, dipped in chocolate and covered in sprinkles. The best part? The kids can help too!
Here’s How to Make Them
All it takes to make a few yummy servings of these Easter treats is basic ingredients you probably already have in your kitchen and about 45 minutes. It’s a fun family activity for the day before Easter, especially if you’re planning on sharing your chocolate confections on the big day!
Ingredients
Peanut Butter Filling
- ¾ cup peanut butter
- 1 ½ cups sifted confectioners’ sugar
- 1 teaspoon vanilla
- 1 tablespoon milk
Chocolate Coating
- 1 cup semisweet or milk chocolate chips
Decorations
- See Egg-citing Toppings below
Directions
Step 1: Using a hand mixer or stand mixer, an adult mixes the filling ingredients together until they form a soft dough.

Step 2: Kids roll the peanut butter filling into small balls. Coat fingers with cornstarch, if necessary, to keep the dough from sticking to them.
Step 3: Kids press the filling into egg molds or shape with their hands into ovals. It’s fun to play around with the sizes. You can make giant eggs or bite-size ones! How many eggs you get in your batch will depend on how big you make each one.
Step 3: An adult places the eggs on a baking sheet lined with waxed paper and freezes them for 15 minutes.
Step 4: An adult removes the tray from the freezer and places it in the refrigerator until the chocolate coating is ready. It’s important to keep the eggs chilled so that they keep their shape.
Step 4: An adult heats the chocolate chips in the microwave at 30-second intervals (stirring after each interval) until the chocolate is completely melted and smooth. If you have one, you can also use an electric chocolate melting pot for this step to keep the chocolate at a constant temperature.

Step 5: Remove a few peanut butter eggs at a time from the refrigerator. An adult helps the kids dip the eggs in chocolate with a fork, tapping the fork against the side of the bowl to allow excess to drip off. (Be careful. Mixture will be hot!) Set the eggs on a baking sheet lined with waxed paper.
Step 6: Before the chocolate sets, kids can add edible decorations or drizzle melted white chocolate over the eggs to add fun details.

Step 7: Allow the chocolate eggs to harden on the baking sheet for about 15 minutes. Then serve or place in mini muffin liners to enjoy later.
Egg-Citing Toppings
Part of the fun of making your own chocolate Easter eggs is deciding what they’ll be topped with. The chocolate coating around the peanut butter filling makes a delicious medium for all kinds of decorations. Here are some ideas:
- Sprinkles (rainbow or chocolate)
- Easter-themed edible confetti
- Edible glitter
- Melted white chocolate
- Flaked coconut
- Bits of candied orange rind
- Chopped nuts
- Mini marshmallows
Decorating is a great time to experiment!
The Surprise Inside
Peanut butter, caramel, and fudge aren’t the only things Easter eggs come filled with. Colorful plastic eggs have been popular Easter gifts for kids since the 1970s, and they can be stuffed with just about anything. Check out these popular Easter egg fillings for a few sweet—and surprising—ideas.
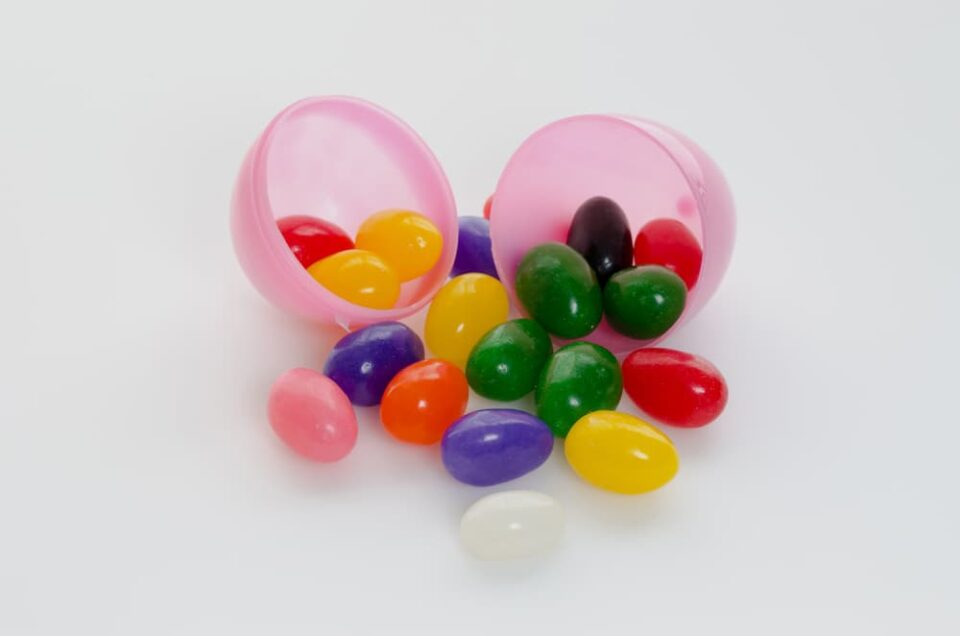
Jelly Beans
The origin of the jelly bean may be lost in the mists of the time (although some people suggest they’re related to the Middle Eastern treat locum, also known as Turkish delight), but there’s no question they’re a popular filling for plastic Easter eggs. Billions of jelly beans are sold every year for Easter, and these bright, sweet treats are a common sight in children’s holiday baskets.
Marshmallow
Sticky, fluffy, gooey and sweet, marshmallow finds its way into Easter eggs in different forms. Chocolate eggs may be filled with delicious marshmallow fluff, and pastel mini marshmallows are often placed in plastic eggs as well.
Toys
Not all Easter egg fillings need to be desserts! It’s easy to fill plastic eggs with all kinds of surprises, from animal figurines and little vehicles to erasers, stickers, friendship bracelets, or temporary tattoos. Just make sure that tiny toys only make it into the hands of children old enough to play with them safely!
Keep the Fun Coming
If your kids enjoyed making these chocolate eggs, they’ll love our Kitchen Adventures subscription box with America’s Test Kitchen Kids! Every month, your family will receive kid-tested, kid-approved recipes from a new global location, plus an easy to use, kid-friendly kitchen tool and a fun activity or game. Play, cook, and connect as you explore the world one country—and meal—at a time!