Make Your Own Scientific Butter!
What is scientific butter, you may ask? It’s butter that you made while learning about science!
This experiment is fun, gooey, and best of all you’ll have fresh butter to slather on toast in the morning. If you feel like quitting halfway from arm fatigue, well, you’ll still have delicious whipped cream.
Butter’s origins go back more than 10,000 years when our ancestors first started domesticating animals. The first butter would have been made from sheep or goat’s milk, since they were the first animals to be domesticated.
An ancient method for making butter involved cream inside animal skins tied to a tripod and then rocked for hours – we’ll do a much quicker version in about 10 minutes with a glass jar and elbow grease!
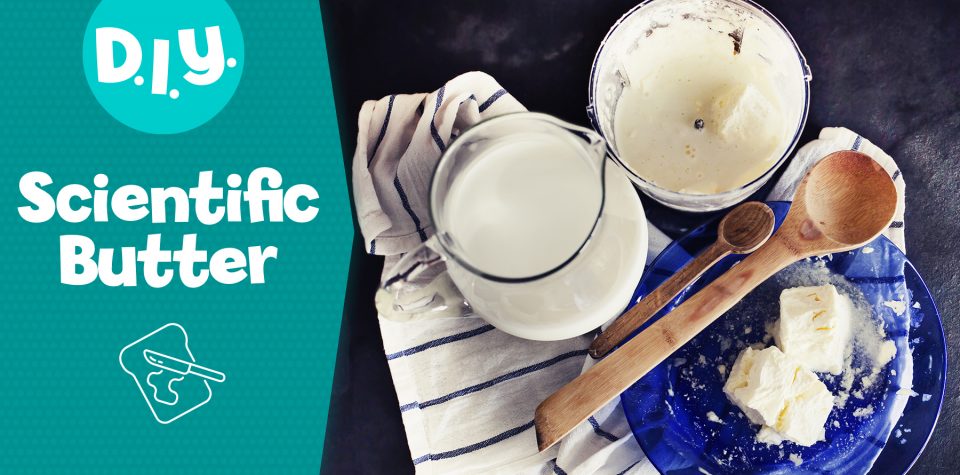
Supplies:
- Sturdy glass jar with a lid (mason jars work best)
- Carton of heavy whipping cream
- 2 or 3 glass marbles (optional – some say marbles speed up the process)
Instructions
Step 1: Fill your glass jar halfway with heavy whipping cream. If you’re using marbles to speed up the process, drop them in now.
Step 2: Shake your jar a ton! The cream will start to thicken up immediately.
Now You’ve Got Whipped Cream. What’s Happening?
Remember how you filled your jar only halfway with cream? Now it looks like a lot more stuff is inside the jar, doesn’t it? This is because when you were shaking the jar, you were forcing air inside the cream and creating a foam, stabilized by fat. One way to think of it is if cream is a body, then fat is the skeleton. It holds everything together.
Keep Shaking Until You See Yellow Blobs Forming. What’s Happening?
Like a skeleton is made up of different bones, fat is made up of different parts. As you shake the fat harder, the individual particles fall apart, and that’s what is happening to the fat. Eventually, the whole mass will separate into solid particles and water particles. The solids will be your butter, and the water is called buttermilk!
Once you have a clear mass of butter, you’re ready to drain and wash it. Place the butter mass into a bowl with ice cubes and cold water. Let the kids squish it against the sides of the bowl a few times – you’ll see milky liquid come out. Dump and replace the water until it rinses clear. Once it’s clear, take the butter mass out and press it a few more times to get rid of excess water. Water left inside promotes microbial growth, and if you didn’t remove all the last bits of water from your butter it would spoil (and we can’t have that after you’ve done all that work!).
Once you’ve squeezed all the water from your butter, spread it onto some bread or a muffin and taste your delicious hard work! To store, wrap tightly in cling wrap and refrigerate.