Help Creativity Bloom by Learning How to Make Paper Flowers
Looking for a fun craft to nurture your young ones’ creativity from seedling to blossom? Handmade paper flowers can transform ordinary paper into something extraordinary.
Simple paper crafts are great family fun because you likely have all the materials at home. Plus, they’re mistake-proof—you can easily repurpose any flower materials your kids aren’t happy with for a different craft another day.
While it’s now a popular craft at preschool and elementary schools, making paper flowers is actually an ancient tradition with a rich history. The Chinese began creating paper blossoms shortly after they perfected their papermaking around 100 BCE. Sometime in the eleventh century, the craft made its way to Europe and spread from there to its colonies. In Spanish settlements, paper flowers often adorned churches and personal altars, particularly in the winter when real blossoms weren’t readily available. Mexico embraced crafted flowers called paper dahlias, which became the primary means of decorating homes and public squares for fiestas.
Spending an afternoon discovering how to make paper flowers is a simple way to bring some lasting beauty into your home while connecting with cultures from around the globe.
Craft a Bouquet of Easy Paper Flowers
There are many ways for kids to make paper flowers, including some that rely on templates and patterns. But a less rigid approach leads to more unique results. Kids can learn many techniques to create a beautiful paper flower bouquet, and they can use their blossoms to add beauty and color to their bedrooms or make a meaningful gift for a friend or teacher. The best part? These flowers will never wilt!
Coffee Filter Flowers
Coffee filters are a fantastic first flower craft material. Readily available and affordable, they allow children to experiment with colors, patterns, and shapes to create artificial flowers with a stunning watercolor effect. They’re also gentle on hands, easy to fold, and unlikely to cause paper cuts.
MATERIALS:
- Coffee filters
- Water-based markers
- Paintbrushes
- Container of water
- Child-safe scissors
- Twigs
- Washi tape
- Cookie sheet
DIRECTIONS:
Provided your kids are using child-safe scissors, they should be able to accomplish each step of this project with supervision. If you don’t have child-safe scissors, an adult should cut out the petals.
- Make designs on the filters using water-based markers.
- Place the filters on the cookie sheet to protect the work surface.
- Dip paintbrushes in water and dab and drag the brush over the filters so that the colors spread and mix all over them. Allow the filters to dry before moving to the next step.
- Once the filters are dry, kids fold them in half 4 times to create a small pointed wedge ⅛ the size of the original circle. Cut off the point to create an opening for the flower stem. (Younger children will need help with this.)
- Trim the corners of the upper part of the filter wedge to form the petals—a pointed shape might create a tulip while a rounded shape could be a daisy. (Again, assist younger kids as needed.)
- Slide a twig into the hole at the tip of the wedge and secure the filter around it using washi tape to create a stem. Carefully unfold the filter to reveal the finished flower!
- Repeat steps one through five to create as many flowers as desired.
Variation:
Do your little crafters want to create even more flower petals? Before securing flowers to the stem with the washi tape, have kids layer two or three coffee filters on top of each other and arrange them so that the petals alternate. They can also experiment with different sizes of filters, layering them from largest to smallest before attaching them to the twig.
Tissue Paper Flowers
If your children are up for a challenge, you can learn how to make tissue paper flowers together. These DIY blooms resemble peonies and are still easy to make, though they require a bit more skill than their coffee filter counterparts. We recommend this activity for kids who are patient crafters.
MATERIALS:
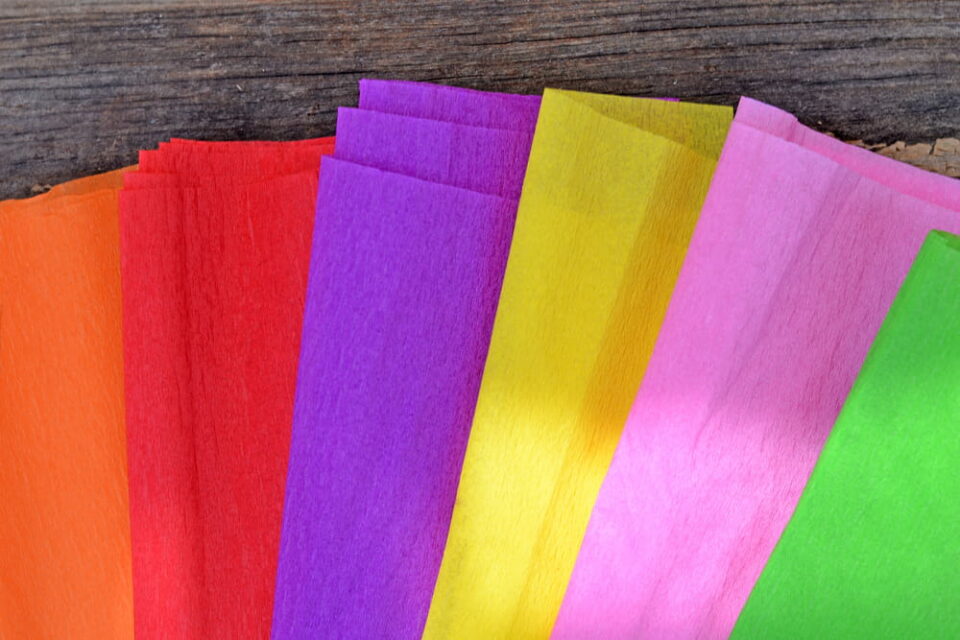
- Tissue or crepe paper
- Fishing line, embroidery thread, or floral wire
- Child-safe scissors
- Twigs
DIRECTIONS:
As in the last activity, if your kids are using child-safe scissors, they should be able to complete the steps of the craft with supervision. If child-safe scissors aren’t handy, an adult should cut out the tissue paper rectangles and trim the petals.
- Cut the tissue paper into 8-inch-by-4-inch (approximately 20-centimeter-by-10-centimeter) rectangles.
- Layer 5 rectangles of tissue paper on top of one another.
- Show your kids how to create an accordion fold. Working from the short side of the rectangles, make a ½-inch (approximately 1 ¼-cm) fold from the bottom using all the layers of tissue paper. Flip the tissue paper over and repeat the ½-inch fold.
- Continue folding in this fashion until you’ve folded the entire length of the paper to resemble a zig-zag.
- Tie a length of fishing line, thread, or wire around the center of the accordion. (Younger children will need help with this.)
- Trim the ends of the folded paper into a rounded or pointed shape.
- Separate the layers of tissue paper by pulling the topmost layer up and toward the center of the flower. Repeat the process until all layers have been separated and fluffed into a flower shape.
Variation:
If your kids yearn for a more colorful bloom, combine layers of different colored tissue paper before creating the accordion fold. They can also experiment with different kinds of paper, like cardstock or construction paper, to make more durable flowers.
Beyond the Bouquet
So what will you do with all those flowers? With a little imagination, those gorgeous paper blossoms can become stunning gifts and home decor. Here are a few possibilities:
- A table centerpiece
- Decorations for a handmade card
- Gift tags
- A headband
- A door wreath
- Gift toppers
- 3D framed wall decor
Working with paper is an engaging experience, and you can encourage young flower lovers to connect with the natural world by recreating the blooms they see around them. Go out for a family walk, photograph a few flowers, and use them as inspiration.
Once your children have had their fun with this earthbound activity, help them take to the skies with a soaring paper eagle craft. Not high enough? Send them on an intergalactic journey with a homemade straw rocket or explore fields of stars from the comfort of their rooms.
Whether their thirst for knowledge leads them to the solar system or keeps them on Earth, fuel your children’s curiosity with our World Edition subscription box. Each month they’ll be introduced to a new country through stories, games, and hands-on activities to help them forge new connections to peoples and cultures both near and far.