Get Clay Modeling with These Projects for Kids
Clay is a wonderful medium for kids to express their creativity. Whether they’re painting a clay mug, sculpting a pendant for a necklace, or simply squashing the stuff in their fingers, working with clay is a hands-on opportunity to bring their imagination to life.
Because it’s such a versatile material, there are many clay crafts for kids of all ages, from simple hand or foot impressions to intricate figurines they can display on a shelf or windowsill and admire. Read on to learn more about the different types of clay kids can use and discover two of our favorite clay projects for kids.
What Are the Types of Modeling Clay for Kids?
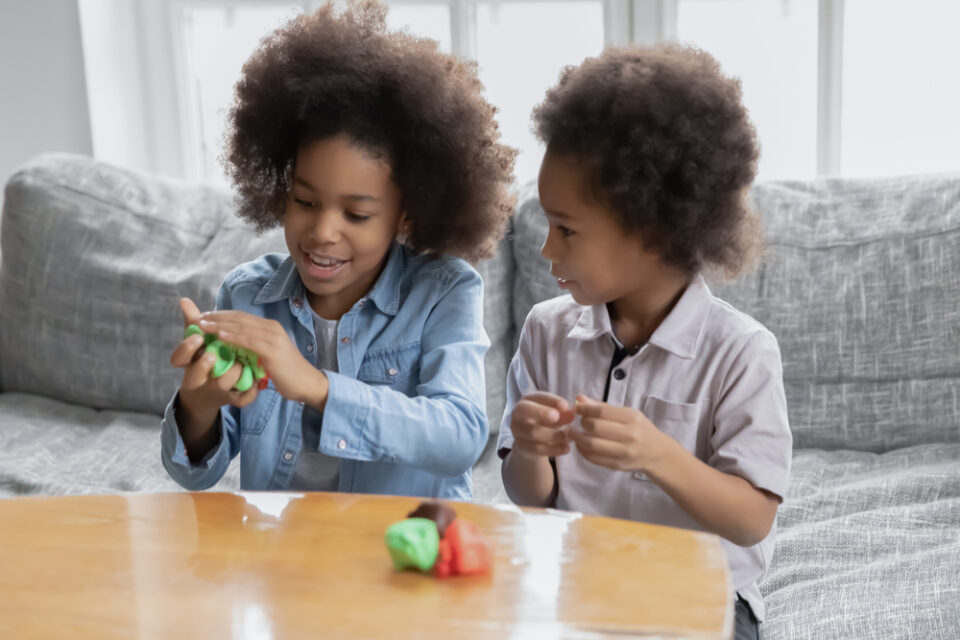
- Oil-based modeling clay: Oil-based clay is fun to play with because it’s soft, malleable, and available in many colors. Kids can build unique creations with the clay or have a good time simply squishing it. That said, oil-based modeling clay doesn’t harden, so it’s not well-suited for permanent projects like the ones we’ve listed below.
- Air-dry clay: As the name suggests, this type of clay hardens after sitting in the open air. That makes it an excellent option for sculpting figurines or pottery, which is why there are so many great air-dry clay ideas for kids! Just remember that air-dry clay takes a few days to harden completely.
- Polymer clay: Polymer clay is a stellar choice for kids who want to create a sculpted masterpiece. This synthetic material—which doesn’t contain any natural clay—won’t dry out over time, so you can leave it on the craft table and return to it again and again. Polymer clay hardens when exposed to heat, however, so you can preserve your children’s favorite sculptures by baking them in the oven.
- Salt dough: This clay also hardens with heat, so it’s a fantastic option for crafting handprint impressions, ornaments, and figurines. It’s also a blast to make, and the recipe uses ingredients many families already have at home.
DIY Clay Projects for Your Kids to Get Their Hands On

The Clay Caterpillar
Materials
- Polymer clay (green, brown, yellow, and red)
- 3 inches thin craft wire
- 8 inches thick cotton thread
- Nontoxic glue
- Plastic knife
- Thin wooden skewer (or wooden chopstick)
- Parchment paper and baking sheet
Directions
- An adult cuts a piece of wire about 3 inches (8 centimeters) long. Kids bend the wire into an S shape (an adult may want to help younger sculptors with this step). This will serve as the core of the crawling caterpillar’s body.
- An adult wraps the cotton thread around the wire, gluing it at both ends and at several points along the wire. This will help the clay stick to the wire.
- Using a plastic knife, an adult cuts the polymer clay into 1-inch (2½-centimeter) pieces. Kids knead the clay until it’s malleable. They can also mix colors to create new shades.
- Once the clay is easy to shape, kids, roll the clay into small balls. Most of the balls should be the same size, but kids should make a few smaller ones for the end of the caterpillar.
- An adult pokes a hole in the center of each ball with the wooden skewer. Next, kids slide the balls onto the wire in whatever order they want. Be sure there are no spaces between the balls once they’ve placed them all on the wire.
- Kids roll red or yellow clay into a ball to create the caterpillar’s head. They can also roll tiny balls for the eyes and thin cylinders for the antennae in colors of their choosing.
- Kids place their caterpillar on a parchment-lined baking sheet. An adult bakes the clay at 275℉ (135℃) for 45 minutes or per package instructions. Remove the caterpillar from the oven and let it cool completely. At last, it’s ready for play or display!
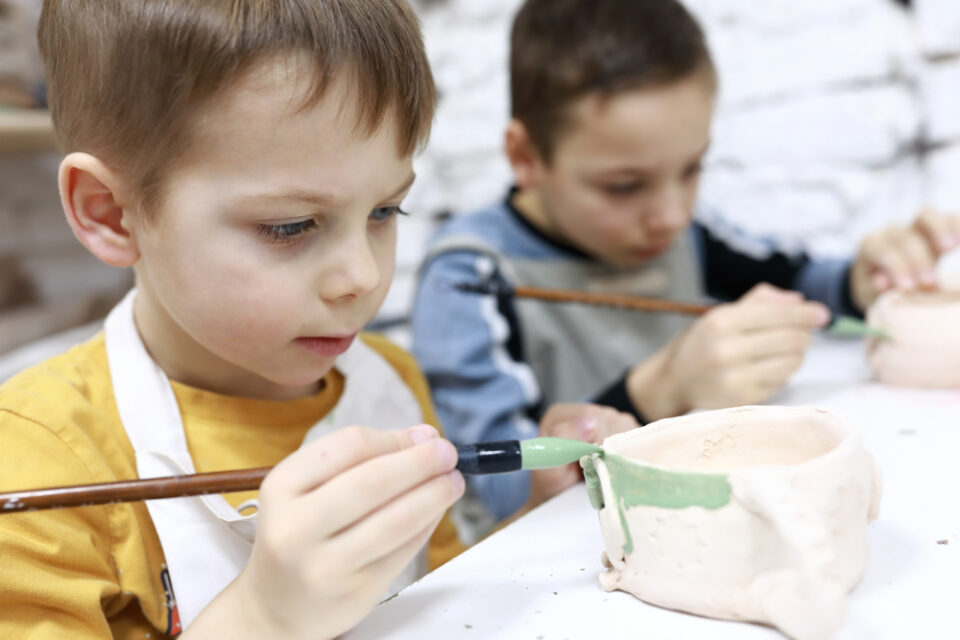
Clay Pinch Pots
Materials
- Air-dry clay
- Acrylic paint
- Paintbrushes
- Clear acrylic topcoat (gloss finish)
- Household items (small spoons, toothpicks)
Directions
- Children start by forming a large piece of air-dry clay into a ball. Younger kids may need some help with this step.
- An adult holds the ball with one hand, or kids can hold it in cupped hands. An adult pushes an indentation into the center of the clay, stopping about ¼–½ inch (1–1½ centimeters) from the bottom.
- An adult helps widen this indentation by pinching the clay around the edges. Rotate the ball as you go, pinching a little at a time to ensure even thickness. Keep stretching the clay until it resembles a pot.
- Kids place the pot on a flat surface and use their hands to press on the bottom from the inside. This will flatten the base against the flat surface and help the pot stand up straight.
- If kids want to add details like handles or small clay flowers, an adult helps them mold the clay into the desired shapes. Once the details are in place, moisten their edges and smooth them onto the pot to secure them. Kids can also carve details into the pot with a toothpick or spoon.
- Place the pot in a warm, dry spot and leave it to dry for 2–3 days. Once the clay is completely dry, let your kids get creative by coloring it with acrylic paint. Then, an adult sprays the pot with an acrylic sealer and leaves it to dry. The final creation makes a wonderful gift or unique piece of home decor!
Create Something New with Your Kids
These easy clay project ideas are wonderful opportunities to help kids unleash their creativity. Whether your children spend hours crafting the perfect miniature figures or making giant balls with every color of clay available, the time they spend creating (and the time they spend with you) will help their imaginations flourish. After you try these clay ideas, check out some other ways to help your kids get hands-on and inventive. Make DIY crafts like kinetic sand for a sandcastle, or use moon sand for imaginative play in a sensory bin. These building materials will provide your kids with countless hours of fun!