Make Ceramic Planters at Home
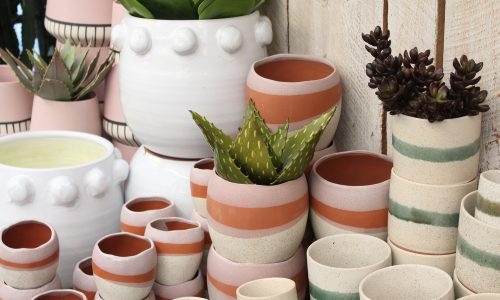
Does your child love taking care of plants? Get excited for these DIY planters that you can make in your home, without a fancy kiln! These adorable planters are the perfect accessory to any plant, whether it be a succulent, cactus, or flower.
Because a kitchen oven cannot get as hot as a kiln, be sure to choose clay that can be fired at a low temperature (around 250 degrees Fahrenheit). Since glaze must be fired at a high temperature, your pots will turn out matte. Even though they won’t be able to glaze, the kids can still personalize them with acrylic paint to their heart’s content!

Supplies:
- Clay that can be fired at a low temperature
- Oven
- Sponge
- Parchment paper
- Rolling pin
- Scraping tool (wooden craft stick, spoon, etc.)
Method One: Pinch Pot
Step one: Begin with a ball of clay. Roll it into a smooth ball.
Step two: Push your thumb into the center of the clay ball. Pinch and press your way gently around the pot. Try to make your pinches as even as possible.
Step three: Once you’re happy with the shape of your pot, use a damp sponge to smooth it out. Run the sponge over the surface of the pot and smooth with your fingers.
Step four: Let your pot dry while your oven is preheating. Preheat the oven to 250 degrees Fahrenheit. When the oven is ready, place your pot on a baking tray lined with parchment paper. Bake it for about an hour. Be sure not to bake too long, otherwise your pot will crack.
Step five: Use acrylic paints to decorate your pot if you wish. Let dry overnight.
Step six: Pot your plants in your new DIY planters! We want to see your creations! Tag us on Instagram @littlepassports
Method Two: Rolled Pot
Step one: Begin with a ball of clay. Roll it into a smooth ball.
Step two: Break off about a third of the clay ball. Roll out both pieces with a rolling pin.
Step three: Shape the smaller piece into a circle. This will be the pot’s base. Shape the larger piece into a rectangle. The length of the rectangle should be able to wrap around the circle’s circumference.
Step four: Make etches in the rectangle using a paper clip, chopstick, or other tool. Be creative in your design!
Step five: Attach the pot’s body to the base. Wrap the rectangular piece around the circular base. Using a wooden craft stick, spoon, or other tool, merge the clay where the rectangle and circle meet. Use your tool to smear and smooth the clay together until they are attached and sturdy.
Step six: Let your pot dry while your oven is preheating. Preheat the oven to 250 degrees Fahrenheit. When the oven is ready, place your pot on a baking tray lined with parchment paper. Bake it for about an hour. Be sure not to bake too long, otherwise your pot will crack.
Step seven: Use acrylic paints to decorate your pot if you wish. Let dry overnight.
Step eight: Pot your plants in your new DIY planters! We want to see your creations! Tag us on Instagram @littlepassports
