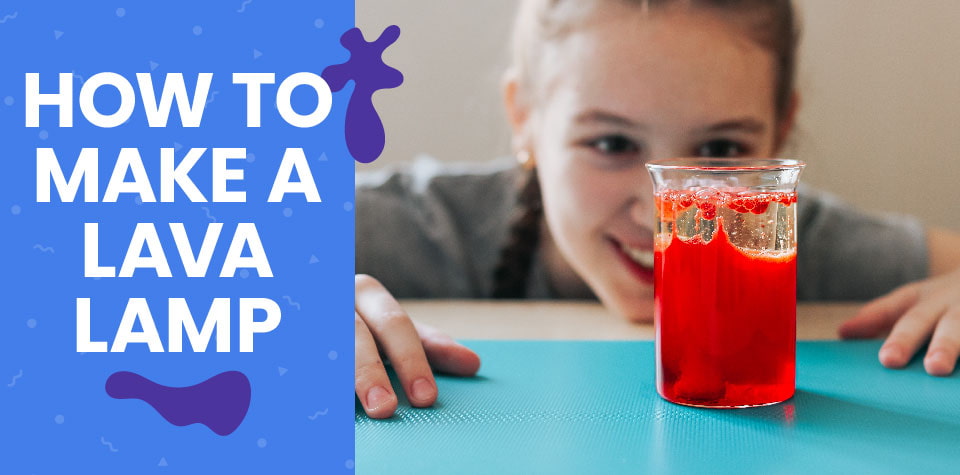
This DIY Lava Lamp Experiment Proves Science Is Groovy
DIY Lava Lamp: An Eruption of Fun
Lava lamps have mesmerized kids and adults alike since they first appeared in stores in the 1960s. The classic model we know and love is both a light source and a conversation piece—but many people don’t realize the lava lamp is also a science experiment in action.
A homemade lava lamp is an excellent activity for kids who want to get hands-on with their love for science. In fact, learning how to make a lava lamp with oil is an opportunity to bring the whole family together to create something weird and wonderful. Young scientists will enjoy the process of creating a chemical reaction, and artistic minds will love admiring the finished product.
No matter where your child’s interests lie, this lava lamp activity can get them curious about the interesting world of science. Let’s dive into how to make a lava lamp for kids and help curious minds discover.
Making a Homemade Lava Lamp
The science behind the lava lamp experiment is relatively simple and requires only a few ingredients you likely have around your house. You will need the following items for this activity:
Tools
- 1 small cup (transparent)
- 1 large cup (at least twice the size of the small cup, also transparent)
- Spoon
Materials
- Vegetable oil (or baby oil)
- Water
- Water-based food coloring (choose your child’s favorite color)
- Soluble vitamin C tablet
- Flashlight
Directions
- Start by filling the small cup with oil and half of the large cup with water. Older kids can likely do this step independently, but young kids will need adult supervision and assistance.
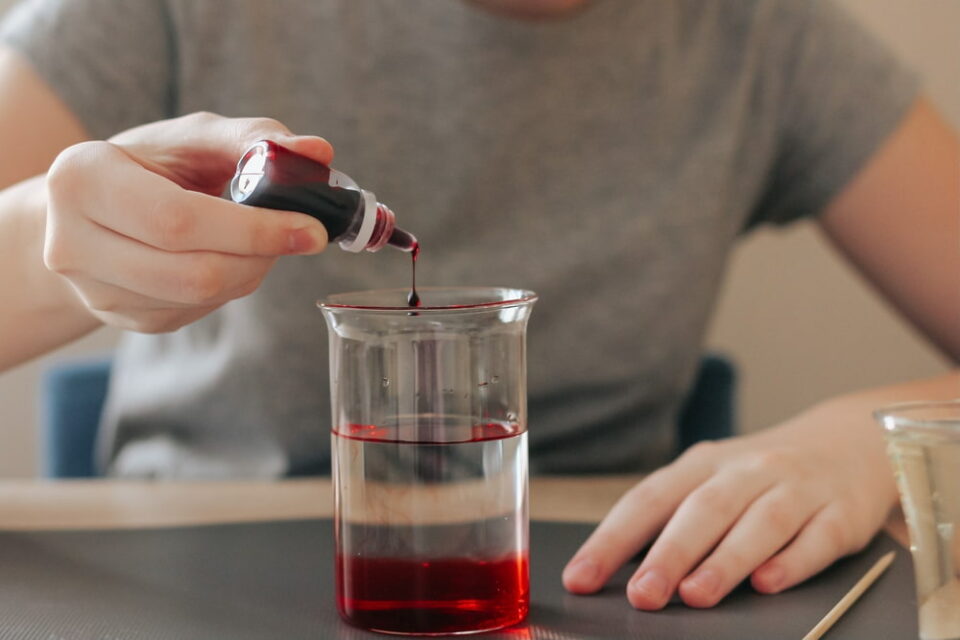
- Have your child add a few drops of food coloring to the cup of water and stir it with a spoon. The color should thoroughly combine with the water.
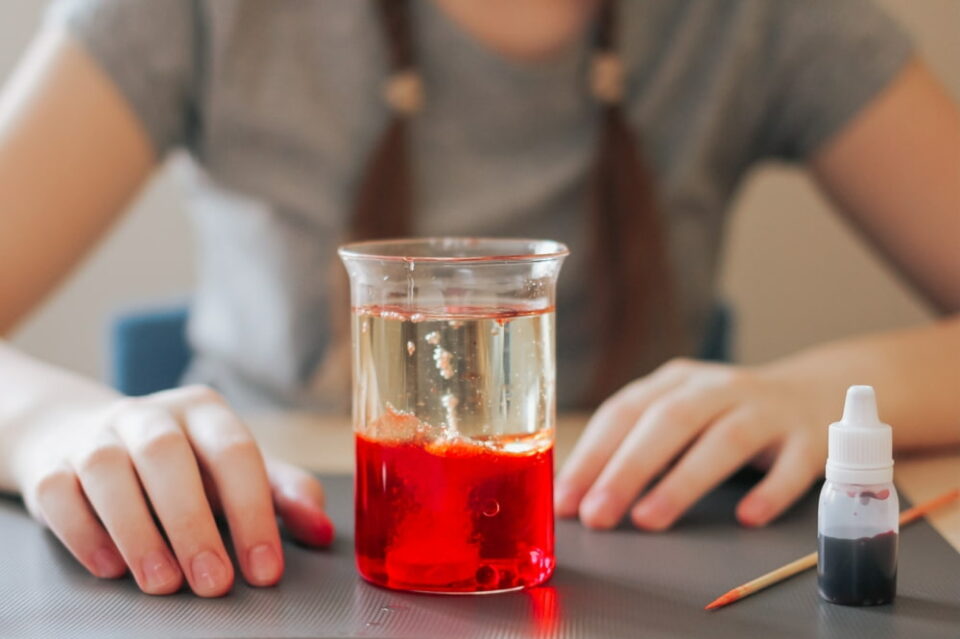
- Next, pour the oil on top of the water. Let your kid stir the mixture with their spoon and observe what happens. The oil should float while the water beads up and sinks to the bottom of the cup.
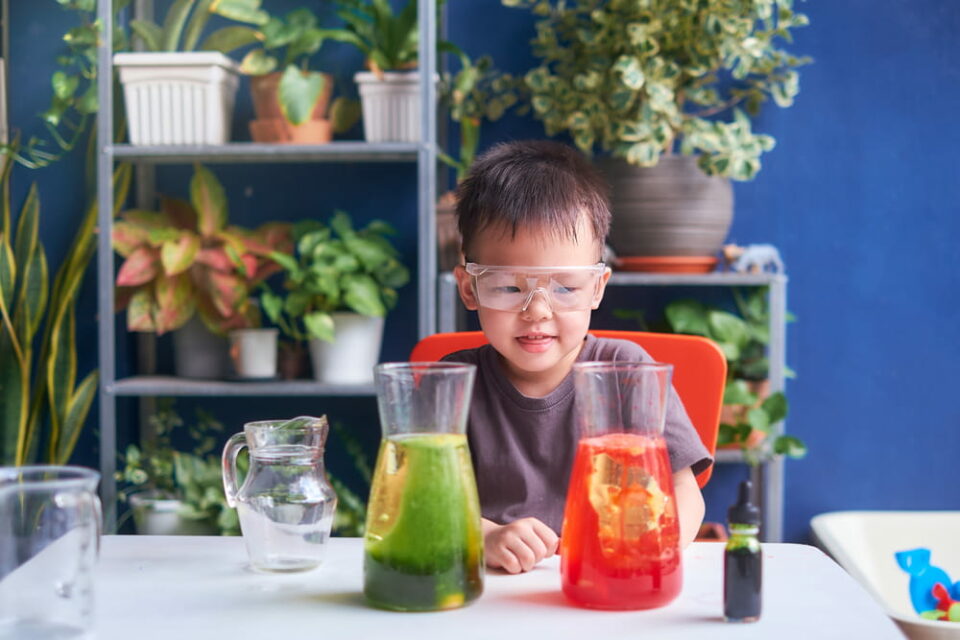
- Finally, give your child the vitamin C tablet and let them drop it into the water-and-oil mix. In just a few moments, the cup will “erupt” with colorful bubbles. Shine a flashlight at the concoction, and your family will have a DIY lava lamp! Once the bubbles die down, repeat the experiment with the rest of the vitamin C tablets to your young scientist’s content.
What’s the Science Behind This Experiment?
Watching a lava lamp in action is fascinating, and learning how to make one at home is loads of fun. But this experiment is also an opportunity to teach your child the interesting science behind the activity. Why do the water and food coloring form tiny droplets in the oil? Why does the vitamin C tablet make those droplets dance around? Making a lava lamp with oil demonstrates two scientific concepts: density and polarity.
Density measures how compact a substance is, or how closely packed its molecules are. When their volumes are the same, substances with greater density are heavier than those that are less dense. For example, one liter of water will be heavier than one liter of oil because water is denser.
Older kids can practice calculating density by using the formula density = mass/volume. Use a kitchen scale to determine the mass of the water and oil in grams and a measuring cup to read accurate volumes in milliliters. The density of the water can be written as _ grams/ _ milliliters. Measure out an equal number of milliliters of oil, and when you weigh it and write it out the same way, you’ll quickly see which is denser (the one with more grams per milliliter).
Density can change when a substance heats up, as heat causes the molecules to gain energy and move more quickly, creating more space between them. This is actually how electric lava lamps work. The heat from a lightbulb changes the density of the “lava” blobs, causing them to rise and fall in the surrounding liquid as their temperature varies.
But what happened in our experiment, where the heat didn’t fluctuate? That’s where the vitamin C tablet comes in.
When you pour water (a dense liquid) and oil (a less-dense liquid) into the same cup, the denser water will sink to the bottom. Adding a vitamin C tablet, which contains malic acid, to the mix triggers a chemical reaction that releases a fizz of carbon dioxide gas, which pushes the water up through the oil like a typical lava lamp.
Why don’t the oil and water just mix together? This is because of polarity, or the separation of electrical charge in a molecule. All molecules are “polar” or “nonpolar,” depending on their atomic structure and the way that electrons (negatively charged parts of an atom) are spread across the molecule. Water is polar, meaning its molecules have a positive and negative side, like a magnet, but oil is nonpolar.
This means that water molecules are more attracted to each other than they are to oil molecules, and vice versa, so they don’t mix together or dissolve. It’s this scientific principle that allows you and your kid to create this fun-filled project.
Let Curious Minds Create
Science projects like this DIY lava lamp are more than a fun way to spend time together—research shows that hands-on learning helps kids more deeply understand scientific topics. Are you and your child ready to get scientific together? Help them mix up a batch of homemade slime in the kitchen, pretend you’re alchemists and make fizzy potions, or create a rainbow in a glass with different sugar water mixtures (another great way to demonstrate density). Experiments like these will make science come alive for your child—and for you too. For even more great experiments delivered to your door every month, try our Science Expeditions or Science Junior subscription boxes!