Grow Stunning Crystals at Home with This Science Experiment
Crystals are a beautiful example of science at work. You’ll find many types of crystals in nature, from the precious gems in geodes to the snowflakes that fall in the winter. You can even harness the wonder of crystals at home and inspire your kids with a dazzling science experiment.
Crystal growing is a simple activity that produces results in just 24 hours. This experiment is a fun way for your children to learn about crystal formation and witness a physical change before their eyes—plus, it’s an excellent activity for kids who love a little sparkle. Let’s learn how to make crystals!
The Meanings of Crystals
Crystals have fascinated people for centuries. In fact, many cultures have found a variety of uses for crystals over the years.
Crystals have long been worn as jewelry, carved into good luck charms or other trinkets, and even used in ancient medicinal practices. Some even believe they contain mystical powers:
- Amethyst is said to promote tranquility and ease anxiety.
- Selenite is supposed to cleanse negative energy.
- Jade is believed to bring good luck.
- Citrine is said to help those who are feeling stuck.
- Rhodochrosite is believed to build up confidence.
Whether or not you believe in crystals’ mystical properties, most people can agree they’re lovely to look at.
Crystals Come in Many Shapes
Crystals form when molecules in a supersaturated liquid solution (a mixture made up of a dissolved substance—called a solute—and what it’s dissolved in—called a solvent—gather together as it cools.
“Supersaturated” means the solution contains more solute than the solvent can hold at a given temperature. When a solution is warm, it is capable of dissolving more of a solute—like sugar, salt, or a mineral—than it can when it’s cool. So as it cools, dissolved ions, atoms, or molecules in a supersaturated solution—which no longer “fit” in the liquid—begin to group together in solid form to create crystals.
The crystallization process arranges the atoms, ions, or molecules in a repeating pattern (called a crystal lattice) that varies depending on the solution’s temperature, the surrounding air pressure, and other factors. Because of this variation, crystals grow in many different shapes, all of which are uniquely beautiful.
Your crystals will fall into one of the following crystal systems:
- Cubic
- Tetragonal
- Orthorhombic
- Monoclinic
- Triclinic
- Hexagonal
- Trigonal
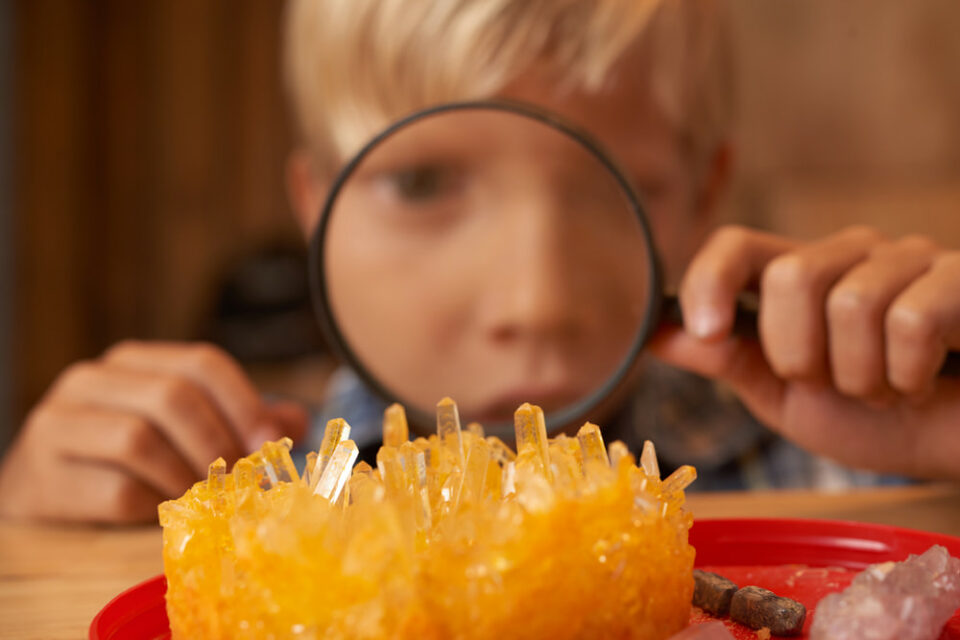
When you make homemade crystals with your kids, ask them to look closely at their creations (you might need to grab a magnifying glass). Part of the fun is seeing if you can determine which shape the crystals will take while they’re growing!
How to Make Crystals at Home
Everything on our planet is made of atoms and molecules. These particles usually behave a certain way, depending on their state (solid, liquid, or gas). However, that behavior can change under certain circumstances. When you make crystals at home, you and your kids will change the behavior of water molecules.
Water molecules move faster and spread farther apart when heated, which allows other materials like salt or sugar to dissolve in them more easily. As these materials dissolve, the water becomes a supersaturated solution—remember, this means it contains more solute molecules than it can usually dissolve4.
When the solution cools, the molecules pack more closely together, and those extra solute ions, atoms, or molecules have to go somewhere—but where? Help your children discover the answer with this crystal experiment for kids.
Salt Crystals
Materials
- Salt (non-iodized table salt works best)
- Boiling water
- A saucepan
- A glass jar (such as a Mason jar)
- A pencil or butter knife
- String
Directions
- An adult starts this experiment by boiling water on the stove in a saucepan. Stir table salt into the water until no more will dissolve (the water should be clear with a bit of salt collecting at the bottom of the pan). Children can watch from a safe distance to see the dissolving process.
- An adult pours the water and salt (the supersaturated solution) into the glass jar. Make sure none of the undissolved salt makes it into the jar.
- An adult ties the end of the string around a pencil or butter knife and lays it flat across the jar’s opening so that the string doesn’t touch the sides. Help your children dip the other end of the string into the jar. If the string touches the bottom of the jar, twist the pencil or knife to shorten the string.
- Once it’s cool enough to handle, an adult covers the jar with a paper towel and sets it in a cool place, such as a part of the counter out of direct sunlight.
- Check back on the jar with your young scientists in 24 hours (or several times throughout the day to track progress). If the experiment is done correctly, there should be beautiful salt crystals forming on the string!
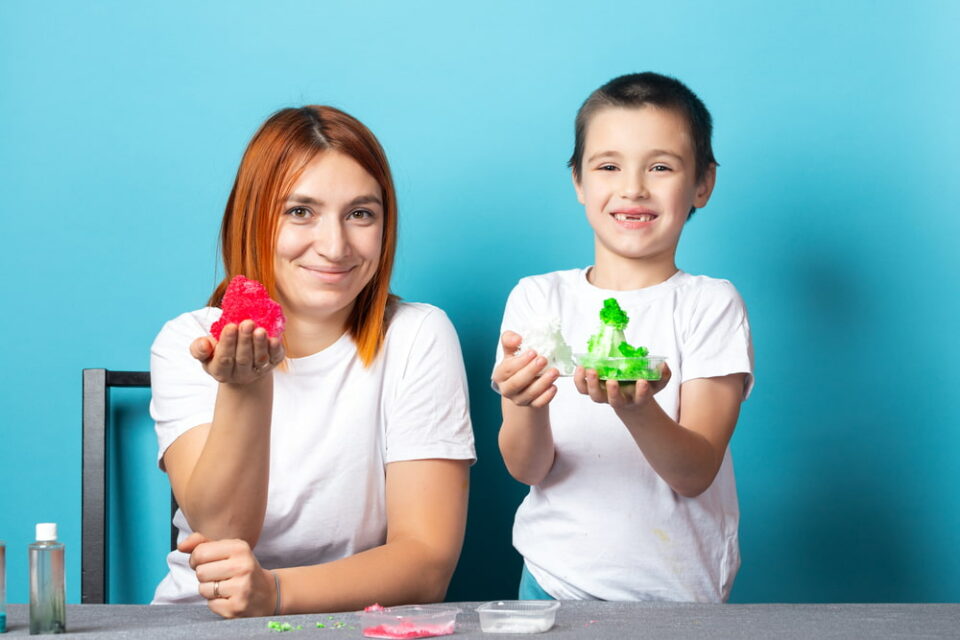
Once finished with this experiment, you and your kids can move on to create other supersaturated solutions by combining water with solutes such as sugar and alum (a pickling spice you can find at most grocery stores). Then, add different strings, sticks, and pipe cleaners to each solution and see how the crystals grow. Kids can compare crystal patterns, shapes, and other features to learn more about this strange yet beautiful scientific phenomenon!
Grow Your Kids’ Love for Science
Making DIY crystals at home is an excellent way to introduce your children to the incredible possibilities of science. Experiments like this one can spark their curiosity and make them eager to learn about the world around them.
There are also plenty more science activities you can do at home to indulge your children’s interests. Dye carnations with food coloring to learn how plants “drink” water, show your kids how acidity affects paper with a cool invisible ink experiment, or study chemical reactions by putting salt on an ice cube.
You can also gift your kids the Science Junior subscription box! This box delivers monthly games, activities, and lessons on scientific topics for kids ages five to eight. Or try our Science Expeditions subscription box for kids ages eight and up. With these subscriptions, your young scientists can take their knowledge—and experiments—to the next level.