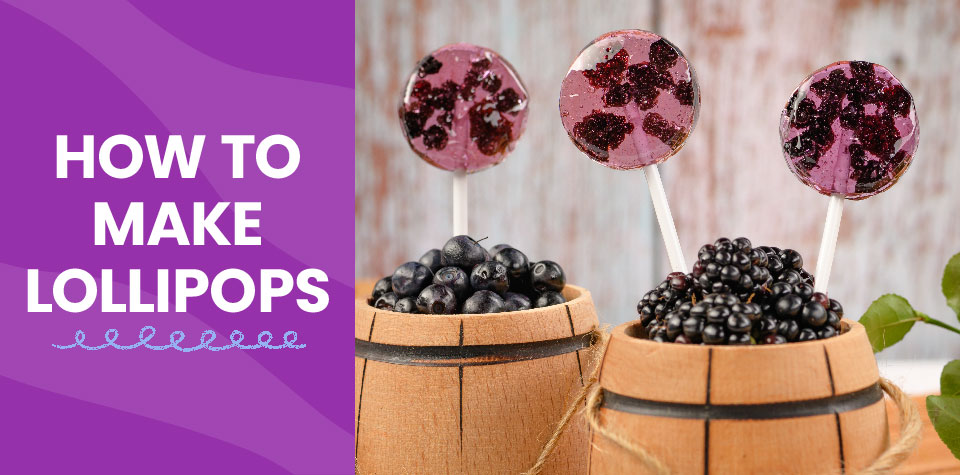
An All-Time Favorite: Here’s How to Make Lollipops
Many people around the world enjoy sweet treats, but the candy of choice often varies depending on where you are. In Sweden, it’s salty licorice called saltlakrits. In Mexico, it’s tamarind pulp with a little kick of chili powder called pulparindo. In Japan, it’s a fruity, taffy-like candy called haichū (or Hi-Chew).
But no matter where you are (or how old you are), there’s one candy nearly everyone knows: the good, old-fashioned lollipop.
The modern-day name for this classic candy was trademarked in 1931, but lollipops are still quite popular today—so popular that one of the world’s largest lollipop manufacturers, Spangler Candy Company, produces more than 12 million Dum-Dum lollipops each day!
And lollipops aren’t just delicious and loved worldwide. They’re also easy to make at home. Here we’ll show you how to make lollipops in your own kitchen with your kids.

Where Do Lollipops Come From?
Before we get into how to make hard candy lollipops, let’s talk about the fascinating history behind this sweet treat. Historians believe that lollipops date back to ancient times, when early humans collected honey from beehives with sticks. Archaeologists have found evidence that ancient cultures in China, Egypt, and the Middle East used to preserve fruit and nuts in honey, which they ate on a stick to keep their hands clean. These were arguably the world’s first lollipops.
But where did the word lollipop come from? The most common story is that it originated in Northern England in the seventeenth century. Sugar became more accessible during this period, and street vendors began selling boiled sugar candies in London.
Just like ancient Chinese, Egyptian, and Arabic people, the English vendors stuck their candies on a stick to make them easier to eat, and they called them “lolly pops”—likely a slang term that meant “tongue slap”—because people would “slap” the candies onto their tongues to eat them. Lollipops continued to gain popularity throughout the seventeenth and eighteenth centuries, but it wasn’t until 1908 that the modern lollipop took form. Two big things happened that year. First, George Smith, a candymaker from New Haven, Connecticut, started selling the first contemporary lollipop. Meanwhile, inventors at the Racine Confectionary Machine Company in Wisconsin created a machine capable of putting 2,400 hard candies on sticks every hour. This automation and the new lollipop helped cement the candy’s place in modern history (and our candy jars).
How to Make Homemade Lollipops
Obviously, it’s easy to grab a bag of lollipops from the grocery store whenever you crave something sweet. But making them with your children is a fun way to teach them how candy is made, and it lets you control the flavor and color. This easy lollipop recipe makes 8–12 servings—perfect for birthday parties, the holidays, or any other time your family wants some tasty DIY candy.
Materials
- Silicone lollipop molds (note: molds are helpful as you learn how to make round lollipops, but you can also use baking sheets for flat lollies in a pinch)
- Lollipop sticks
- Medium saucepan
- Candy thermometer
Ingredients
- Cooking spray
- 1 cup sugar
- ½ cup light corn syrup
- ¼ cup water
- 1 ½ teaspoon flavored extract of choice (vanilla, mint, cinnamon)
- Food coloring (optional)
- Sprinkles
Directions
- This recipe requires a lot of time at the stove, so the best way for young kids to help is by prepping the materials. Have them start by spraying the lollipop molds or baking sheets with cooking spray. Then they can wipe the molds or sheets with a paper towel so that only a thin layer of oil remains. Insert the lollipop sticks into the molds or lay them down on the baking sheets.
- While your little ones are prepping, adults combine the sugar, corn syrup, and water in a medium saucepan over medium-high heat. Stir until the sugar dissolves.
- Adults insert the candy thermometer into the saucepan. Let the mixture boil until it reaches 300°F (150°C). Achieving this temperature is necessary to bring the candy to a “hard crack” stage, where nearly all the water has boiled out of the syrup.
- Adults should remove the saucepan from the heat, making sure kids’ hands and limbs are at a safe distance, and set it aside until the mixture stops bubbling. Then kids can add any extract or food coloring they want! Remember that the saucepan and its contents will still be hot, so adult supervision is a must.
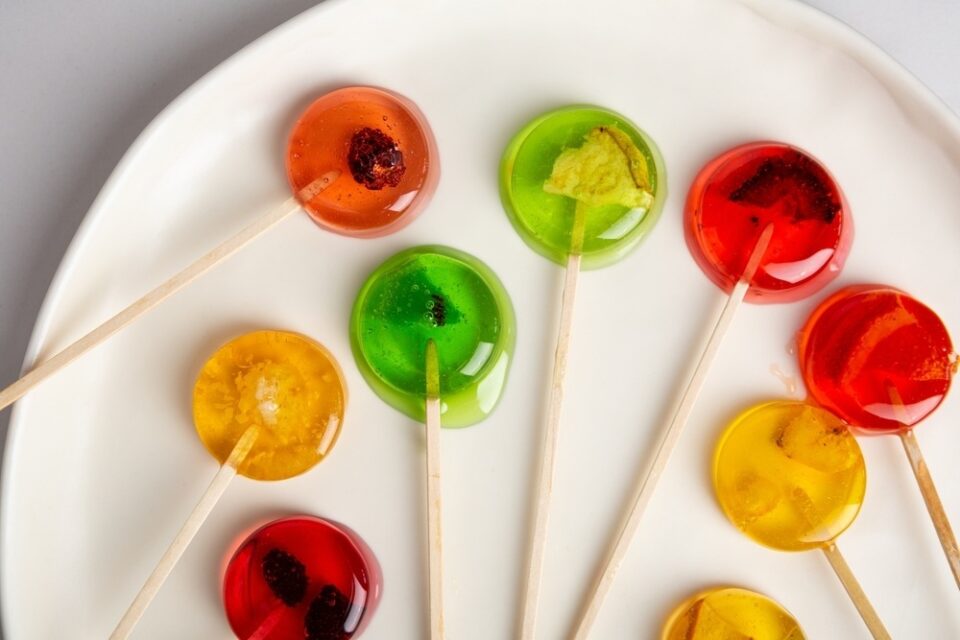
- Use a spoon to scoop the candy into the lollipop molds or onto the baking sheets. This step is also for grown-ups, as the liquid may still be hot. Make sure to cover the back of the lollipop stick completely. Let your kids add sprinkles, if desired, and set the lollipops aside to cool.
- After about 10 minutes, your homemade lollipops should be cool and ready to eat. Remove them from the molds or peel them off the baking sheets, and enjoy!

Have Fun with Flavors
Feel free to get creative with your lollipops and adjust the recipe to suit your family’s tastes. Instead of using vanilla or cinnamon, try a fruit extract like strawberry, lemon, or watermelon (you can even add pieces of dried fruit for an extra treat). Instead of adding sprinkles to your lollipops, mix edible glitter into the syrup for a shimmery confection. No matter how you and your kids create these candies, you’re likely to end up with a bunch of sticky smiles! (You might discover you have a budding confectionary chef in your home! If so, perhaps you’ll want to try this rock candy recipe next, or dig into world foods and food traditions in our Kitchen Adventures subscription.)