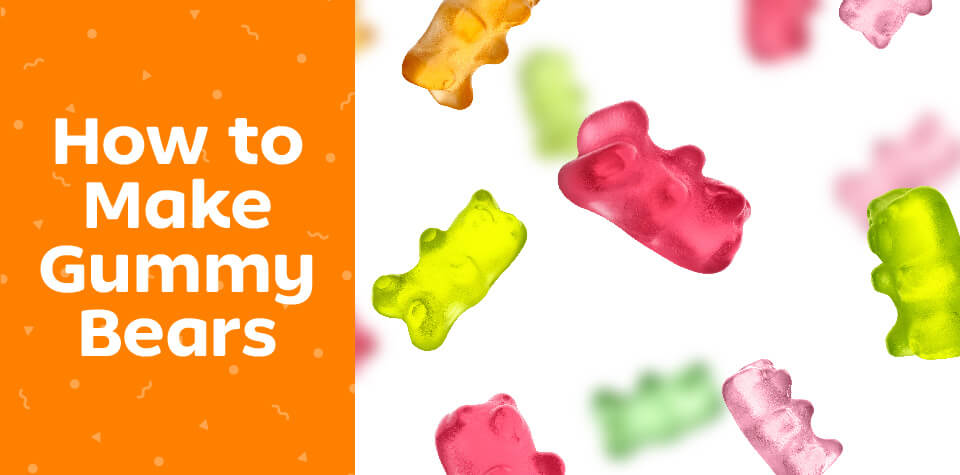
Satisfy a Sweet Tooth with This Gummy Bear Recipe
Gummy candies are a popular treat among kids and adults alike. Since their invention, this candy has taken on many silly, fun forms. Sweet bears, sour worms, chewy keys—the list goes on.
Your kids may enjoy gummy bears from the store, but did you know your family can also create these tasty treats at home? The process is easier than you’d expect, and the result is always delicious. Round up your children, head to the kitchen, and discover how to make gummy bears!
The History of Gummy Bears
Gummy bears have a rich history. In fact, Haribo—a world-famous candy company—created the first gummy bears over 100 years ago.
In 1920, a German confectionery worker named Hans Riegel began experimenting with a new kind of candy in his home kitchen. In 1922, Riegel’s company, Haribo, debuted a gummy treat shaped like the dancing bears seen at festivals in Europe.
The candies became so popular throughout Germany that by the 1930s, Haribo had grown from a two-person operation (Hans and his wife, Gertrud) to a company of over 400 employees. However, it wasn’t until the 1960s that gummy bears became a worldwide sensation. The company began to market its candies throughout Europe, and German-language teachers in the U.S. started giving their students Haribo gummies to sample. Before long, there was a global demand for Haribo’s bears, and the company began producing on a massive scale.
Haribo now makes about 100 million gummy bears every single day!

Chewy and Delicious Gummy Bear Recipe
Although Haribo’s signature formula is a closely guarded secret, your family can create their own version of these squishy sweets with this gummy bear recipe. Your kids won’t just enjoy snacking on the final product—they’ll also develop basic cooking skills and learn that experimenting in the kitchen is fun.
Ingredients
- Cooking spray
- Bear-shaped silicone candy mold
- 3 ounces (85 grams) flavored gelatin (in your children’s favorite flavor)
- ¼ ounce (7 grams) unflavored gelatin
- ⅓ cup cold water
- Food coloring (optional)
Directions
- Kids lightly coat the silicone mold with cooking spray. Spread the spray evenly with a paper towel, making sure it’s in every crevice. This will help the gummies pop out of the mold when finished. (Adults should assist younger children and check that there isn’t too much cooking spray).
- Kids combine both gelatin powders and the cold water in a small, microwave-safe bowl. Whisk vigorously, then allow the gelatin to sit at room temperature for 10 minutes (this will give it time to absorb the water).
- An adult places the bowl in the microwave and heats it for 30 seconds. Remove the bowl and whisk the contents. Repeat this step, microwaving 30 seconds at a time until the sugar in the flavored gelatin fully dissolves.
- An adult pours the gelatin into a measuring cup with a spout. If the gelatin is clear, add 1-2 drops of food coloring.
- An adult checks that the gelatin has cooled to a safe temperature. Kids then fill each shape in the silicone mold with the gummy mixture, being careful not to cause an overflow.
- Once the gummy bear shapes are filled, an adult places the mold in the refrigerator for 20 minutes. This will allow the gelatin mixture to set and become firm.
- An adult removes the mold from the refrigerator and kids carefully push each gummy out of its cavity. If the bears have residual cooking spray on them, give them a quick rinse under cold water and allow them to dry.
When snack time is over, place leftover homemade gummies in an airtight container and store them in a cool, dry place. This will help them last up to 2 weeks.
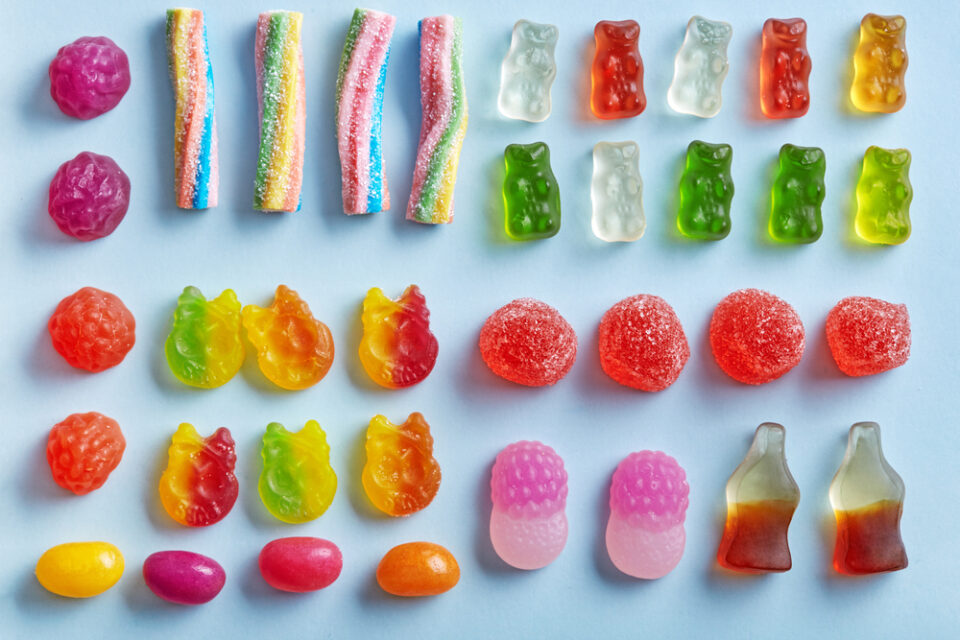
Experiment with Different Colors, Flavors, and Shapes
One of the many great things about gummy candies is their versatility. The recipe above can easily be adapted to any flavor, shape, or color your kids would like. Once you know how to make gummies at home, you can customize the process to suit your kids’ unique tastes and interests.
Do your kids prefer slimy critters to teddy bears? Skip the bear-shaped candy mold and make gummy worms instead. Want a vegan option? Swap out the gelatin for agar and use fruit juice as your sweetener. And if your kids are adventurous, they can try mixing different gelatin flavors to create their own signature recipe. You can even make homemade sour gummies by coating the candies in a mixture of ½ cup sugar and 5 teaspoons of citric acid before serving. (You can find citric acid at most major grocery stores.)

More Delicious Recipes at Home
Making gummies with your kids is a great way to show them how fun cooking can be. Your family will have a blast making gummies of all shapes, colors, and flavors—and that’s just the beginning of your culinary adventures! If your children have a serious sweet tooth, you can try some of our other simple dessert recipes, including rock candy, lollipops, and cake pops.
Want to give your cooking adventures a global flavor? Our Kitchen Adventures subscription box is the perfect way to expand your children’s horizons through food. Every month, your kids will receive kitchen tools and kid-tested, kid-approved recipes from America’s Test Kitchen Kids, designed for children ages 7 and up. The subscription takes kids through 12 countries and features over a hundred unique flavors, encouraging children to expand their palates, gain practical cooking skills, and appreciate the world one bite at a time.