Teach Your Kids to Cook with These No-Bake Recipes
Cooking can introduce children to different textures, tastes, and foods from other cultures. But not every kitchen adventure requires hot appliances—we’re looking at you, oven.
If you want to “cook” without the oven, we have a solution: no-bake recipes for kids! These delicious treats allow your children to create culinary masterpieces—and participate in each step.
3 No-Bake Recipes for Kids
When you think about baking, you probably picture popping a tray in the oven. But no-bake recipes are a fun way to get creative with the fridge and freezer instead! There are many recipes kids can make that require minimal equipment, from simple snacks to sweet desserts. Gather the kids, bring your appetites, and check out our favorite easy no-bake recipes.
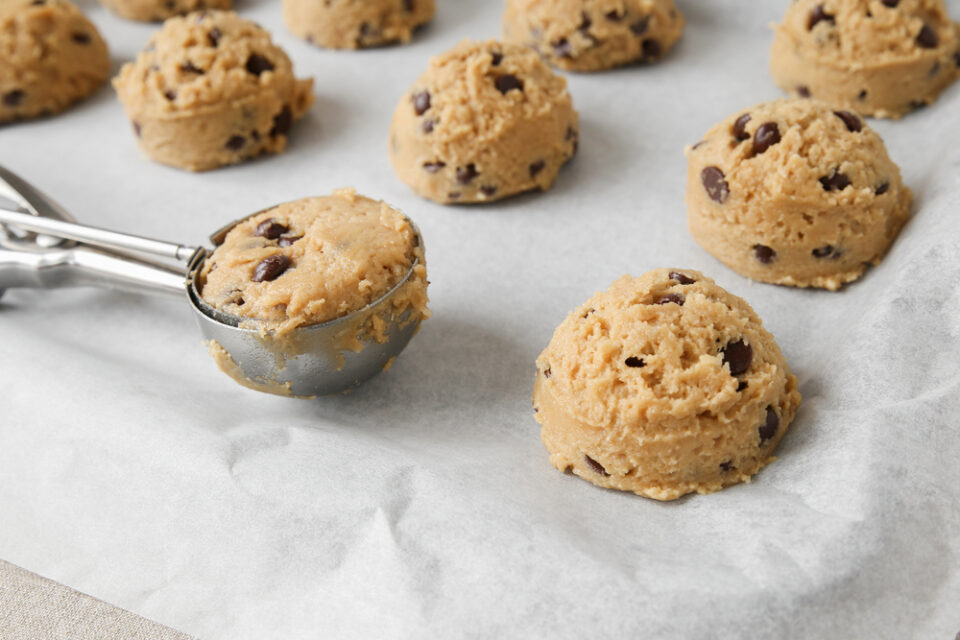
No-Bake Oatmeal Cookie Dough Bites
Do you love to bake cookies but want to avoid messy ingredients when cooking with your kids? This no-bake dessert recipe doesn’t require eggs, and it uses quick-cook oats instead of all-purpose flour, making it safe to eat right out of the bowl.
Ingredients
- 4 cups quick-cook oats
- 5 tablespoons room temperature salted butter
- ½ cup brown sugar
- 1 teaspoon vanilla extract
- ½ teaspoon salt
- 14 ounces (414 milliliters) of sweetened condensed milk
- ½ cup semisweet chocolate chips
Directions
Note: Before beginning, an adult adds the quick-cook oats to a food processor or blender. Blend the oats until they resemble flour, about 1 minute. Remove from the processor or blender and set aside in a bowl.
- Mix butter, sugar, vanilla, and salt in a large bowl by stirring vigorously until the ingredients are combined and the texture resembles sand.
- Add sweetened condensed milk and whisk until fully combined.
- Add the blended oats and beat until well combined.
- Add the chocolate chips and mix them into the dough by hand.
- Refrigerate the dough for 30–60 minutes.
- Remove the dough from the refrigerator and use a cookie scoop (or your hands) to roll the dough into balls. Each ball should consist of about 2 tablespoons of dough.
- Serve immediately, or store the cookie dough bites in the freezer for up to 3 months.
Frozen Banana Ice Pops
This chilly dessert is easy to whip up with children of all ages. Plus, it’s the perfect snack for a warm summer day or after sports practice.
Ingredients
- 2 bananas
- 4 strawberries
- ½ cup plain yogurt
- 1 cup dark chocolate chips
- 1 tablespoon sprinkles
- 4 ice pop sticks
- 1 tall glass
Directions
- An adult peels the bananas and cuts off the ends with a knife. Next, cut each banana into 4 pieces of equal size and put a small slit through their centers by pushing the knife through.
- An adult trims the green tops off each strawberry.
- Now it’s time for kids to do the assembling. Push 1 berry onto each ice pop stick (younger children may need help), leaving approximately 1.5 inches (about 4 centimeters) at the bottom (so there will be a place to hold the treat when it’s done).
- Push two banana pieces onto each stick above the strawberries. Each stick should have one strawberry and two banana pieces.
- Place the ice pops onto a lined baking sheet and put them into the freezer for 1 hour until frozen.
- Pour the yogurt into a tall glass. Dip the sticks into the glass and coat each banana piece in yogurt (try to avoid getting yogurt on the strawberries).
- Place the ice pops back into the freezer to set (about 30–60 minutes).
- When the yogurt coating is almost frozen, an adult melts the chocolate chips by heating them in the microwave in 30-second intervals, stirring in between. Allow the chocolate to cool until safe to touch.
- Once the ice pops are ready, kids dip the banana piece on the end of the stick into the melted chocolate and top with sprinkles.
- Place the pops back in the freezer for 10–30 minutes before serving.
Peanut Butter-and-Granola Pinwheels
This twist on the peanut butter sandwich makes a great picnic food, after-school snack, or anytime treat. The no-bake recipe is also easy to customize: swap out the peanut butter for chocolate-hazelnut spread, or add extra toppings like mini chocolate chips or apple slices for an extra burst of flavor that suits your kids’ tastes.
Ingredients
- 4 tablespoons peanut butter
- 2 8-inch (15-centimeter) flour tortillas
- 2 teaspoons honey
- ½ cup granola
Directions
- Using a child-safe knife, kids spread peanut butter over each tortilla.
- Kids drizzle honey and sprinkle granola over the peanut butter.
- An adult rolls up the tortillas and cuts them into 1- to 2-inch (2.5- to 5-centimeter) slices.
- Cool the pinwheels in the refrigerator for 10–20 minutes to set the snack. Serve and enjoy!

Discover More Yummy Recipes with Your Kids
The kitchen offers kids opportunities to practice essential skills and build confidence. And with easy recipes for kids on hand, you can turn mealtime into a fun activity for the whole family! If your young chefs can’t get enough of cooking, check out our Kitchen Adventures subscription box. Each month, your children will receive delicious recipes, kid-friendly kitchen tools, and activities highlighting foods from across the globe—delivered right to your door. With over 60 recipes from 12 countries, your kids can travel the world one bite at a time.