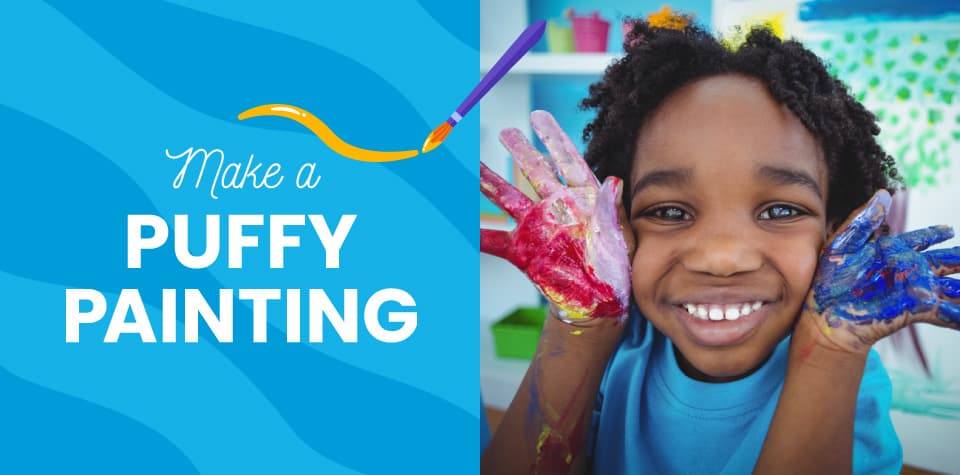
How to Make a Puffy Painting: Fun and Simple Art That Jumps off the Page
Need ideas for engaging activities to keep kids discovering on a rainy day? How about a craft that engages your budding artist’s senses that’s also lots of fun? Why not try making a DIY puffy paint recipe to create some fun 3D artwork to hang on your fridge? It’s super easy and so enjoyable for both you and them from start to finish—so much that your kids will be asking to make puffy paintings rain or shine!
What Is Puffy Paint?
Puffy paint is an easy arts-and-crafts activity that lets your kids add volume and texture to their masterpieces, thanks to its airy, cloud-like texture. Best of all, you and your kids can whip it up in no time with ingredients you can find around the house or at the nearest dollar store. It takes a bit longer to dry than regular water paints—depending on the thickness anywhere from six hours to a full day. But trust us, the effect is worth the extra time.
The longer setting time can be the best part because your little ones can play and experiment with texture while the paint dries. Just imagine a sky filled with fluffy clouds, a field of scratchy hay bales, or a haunted mansion constructed with rough bricks. You’ll be impressed at how the addition of texture unleashes your little one’s imagination (and yours, too!).
Puffy paints can add so much dimension to a painting by giving it texture, but you don’t have to take it from us. See for yourself by following this simple tutorial to make puffy paints at home.
Ready? Set! Let’s Make Puffy Paint!
Homemade Puffy Paint Recipe Ingredients:
- 1 cup of shaving cream
- 1 cup of white glue (we used Elmer’s Glue, but any brand will do)
- Four different colors of food coloring or water-based paint
How to Make Puffy Paint:
- Help your child measure the glue and then pour it into a bowl or other container.
- Have them spray an equal amount of shaving cream into the bowl (just eyeball it). You may need to help hold the can steady.
- Give them a spatula to mix the glue and shaving cream, or let them mix everything with their hands.
- Divide the mixture into four equal parts and put each into a small bowl.
- Add 10–15 drops of food coloring or a teaspoon of washable paint to the first bowl and stir. Repeat with a different color for each of the remaining bowls.
- Keep adding coloring bit by bit until everyone is happy with the color. Be sure to keep in mind that puffy paint looks darker when it dries.
Painting Technique
We recommend using heavier cardstock, paper plates, or cardboard for your puffy paint creations. Because puffy paint is denser than regular watercolors, encourage your kids to use a lot on their paintbrushes. Let them experiment with their brush strokes to see how much paint works best for them; remember, it’s all about exploring and discovering. Kids can experiment with different tools, from standard paintbrushes to cotton swabs to craft sticks. They can even use your fingers. Another option is to put the paint in a squeeze bottle to give small hands a little more control if they want to outline the features of their artwork.
Puffy Paint Variations
- Edible puffy paint: Younger kids sometimes like to put things in their mouths. Keep them safe by making puffy paint without shaving cream. All you need to do is omit the white glue, swap out shaving cream for whipped cream, and use food coloring to add color. It doesn’t have quite the same texture, but it’s still a fun craft that’s safe to eat.
- Acrylic puffy paint: If your young artists are older and want to create a more robust painting, you can make puffy paint out of acrylic paint. How?
- Mix 2 tablespoons of salt and 2 tablespoons of flour together in a container. (The salt adds a sparkling, crystalline effect to the paint that everyone will love.)
- Add a dollop of acrylic paint.
- Mix and add more paint until it’s the color you desire.
- Add the puffy paint to a squeeze bottle and paint!
How Long Will the Painting Stay Puffy?
Your child’s paintings will stay puffy for about a day. They’ll deflate over time, but they’ll retain some of the ridges and texture you created with your brushstrokes.
How Long Does Puffy Paint Keep?
Homemade puffy paint doesn’t have a long shelf life. You’ll want to use it up on the day you make it, which shouldn’t be hard. Longer than that and you’ll have a bowl full of runny glue. Yuck!
Can You Use Puffy Paint on Fabric?
Homemade puffy paint is water-based, so it won’t permanently adhere to fabric. If your child wants to create a more lasting design on a T-shirt or backpack, your best bet is to find a puff paint made for fabric.
Creativity and Endless Fun
Puffy paints are a great, fun, and easy activity for your kids because they:
- Allow children to engage using their sight and sense of touch.
- Provide hours of hands-on fun that can delight children regardless of their age.
- Clean up easily (if you use water-based paints).
Need Some More Craft Ideas?
If your young artists enjoyed working with puffy paint, why not check out our other craft ideas for kids? Go beyond painting with ideas like the “Astronaut Moon Mission Craft” or “Salt Dough Dinosaur Fossils.” They’re easy to put together, come with free printable templates, and will keep the kids experimenting. Or, if you need a break from arts and crafts, why not switch to a science-based activity like making fluffy slime with the leftover shaving cream?
Did your kids have a blast creating with their homemade puffy paint? If so, they’ll love exploring STEM-based activities with our Science Expeditions subscription box. Or shop our other STEM kits and products.