Simply Magical Snow Globes
The best part of the holidays is getting together with family and friends. So whip up a batch of cocoa and invite your favorite people over for a fun and festive craft night. We love making snow globes because they’re simply magical gifts that you can creatively customize to each recipient. Let it snow!
Supplies:
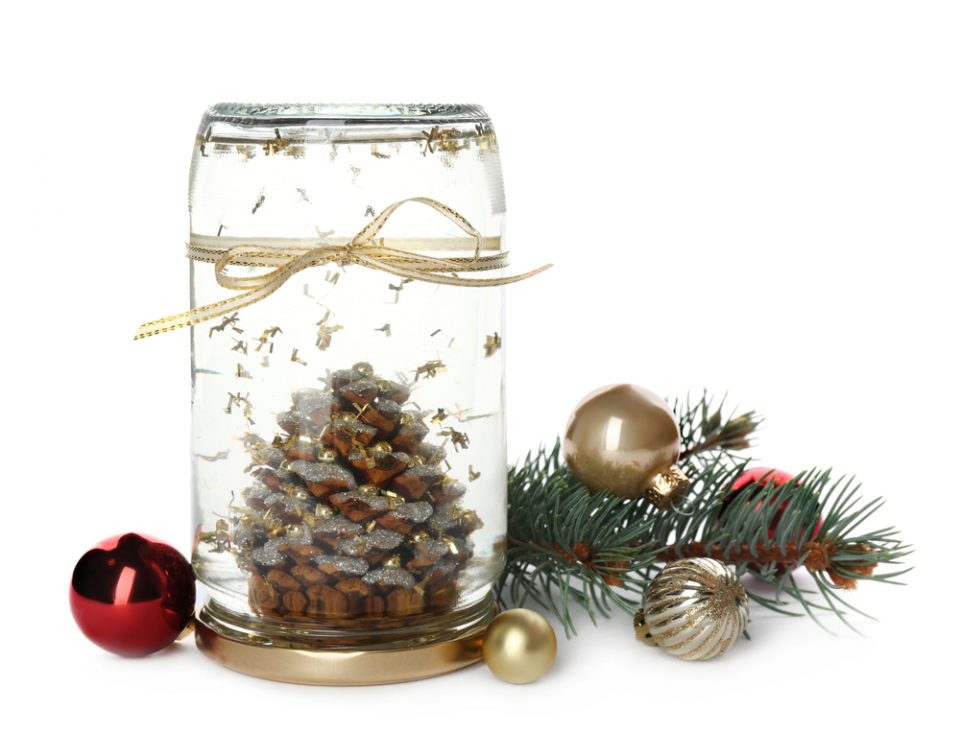
Glass jars with lids: mason jars, baby food jars, jelly jars, etc.
Small items to display (plastic or ceramic small toys or figurines, bottlebrush trees, pine cones, mini ornaments, etc.)
Waterproof glue
Glitter
Distilled water
Optional: glycerin
Directions:
Step one: Put the jar lid down with the inside surface facing up, and assemble your items on the lid to make sure everything will fit. Leave space between your items and the edge of the jar rim.
Step two: Glue your items to the lid and let the glue dry completely before moving on to the next step.
Step three: Sprinkle enough glitter in the jar to cover the bottom lightly. You don’t want too much, or it will clump.
Step four: Fill the jar about ¾ full of distilled water and stir. Remove any clumps that don’t easily disperse. (Optional: Add a splash of glycerin if you want the glitter to fall more slowly.)
Step five: Make sure the rim of your jar is dry, and then put glue around the inside of your lid and screw it on, wiping off any extra glue that squeezes out.
Step six: Let dry before inverting and shaking.
Show us your snow globe creations! Tag us at #LittlePassports on Facebook, Instagram, and Twitter.