3 Snowman Crafts to Spark Your Kids’ Imagination This Winter
When winter is right around the corner, it’s time to get the whole family excited with an adorable craft starring one of the season’s most iconic figures: the snowman. Even if you don’t live where snow falls, the snowman is a friendly reminder of the holidays ahead.
Plus, you can tap into the spirit of giving! These three cheerful snowman crafts are fun to make and serve as awesome DIY holiday gifts for your children’s friends and loved ones.
The Snowman: All about His Frosty Story
Craft time is the perfect opportunity to spark a conversation with your kids about the history of the snowman.
These days, the word snowman brings to mind modern characters from songs and movies. But snowmen are much older than family-favorite movies and books. People have been making the chilly sculptures for hundreds of years: The earliest reference to snowmen is an illustration in The Book of Hours, a Dutch prayer book dating back to 1380.
Since then, snowmen have taken many forms, from beautiful and detailed sculptures to the classic three-snowball-stack we see today. The first picture of a snowman (taken in 1853) actually looks a lot like something you might make in your front yard!
Snowmen also look different depending on where you are in the world. Japanese snowmen, or yukidaruma, use only two snowballs and rarely have arms. In February 2020, Austria became home to the world’s tallest snowman, named Riesi, who stood 124 feet (38 meters) tall. And in Canada, a group of researchers actually managed to create a snowman smaller than a strand of human hair.
Three Snowman Crafts to Try This Winter
If the weather outside is cold or wet, have fun indoors with a simple snowman craft for kids! Crafting is a wonderful opportunity to spend quality time together and create lasting memories.
Here are three of our favorite snowman craft ideas.
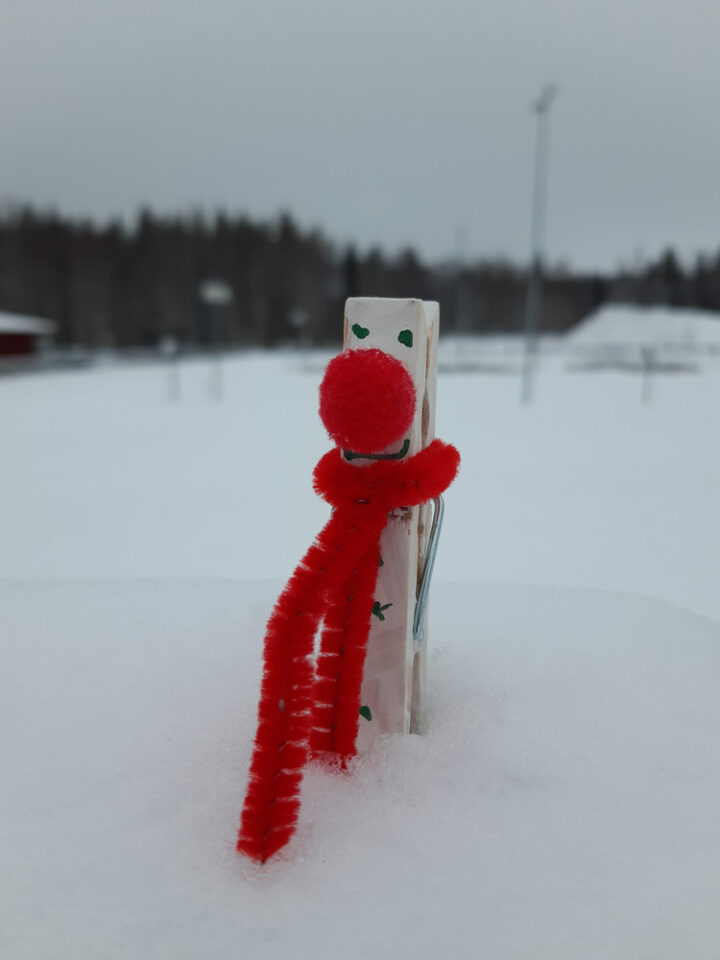
Clothespin Snowman
These little figures make excellent DIY decorations or add fun flair to holiday cards. They’re quick and easy to make, so your young crafters can create a handful!
MATERIALS
- Wooden clothespins
- Yarn or pipe cleaners in your kids’ favorite colors
- Kid-safe glue
- Orange mini pom-poms
- White paint
- Small paint brushes
- Black markers
- Child-safe scissors
DIRECTIONS
- Help your kids paint the clothespins white on all sides. The paint can “glue” the clothespins shut if it goes on too thick, so use a light hand and open and close the pins a few times while they dry.
- Once the paint is dry to the touch, have your children select their favorite colors of yarn or pipe cleaners. Wrap a pipe cleaner or piece of yarn around each of the clothespins above the metal coil to form a cozy scarf. Secure the scarf with a glue dot; older kids can do this independently, but parents should help little ones.
- Use a black marker to draw eyes, a mouth, and three buttons on one side of each clothespin, leaving space for a nose. Older kids can handle this task, but younger ones may need some assistance.
- Dot some glue in the middle of the snowman’s face, between the eyes and mouth, and place an orange mini pom-pom on the glue. Have your young crafters hold the pom-pom in place with a finger. Let the glue dry, and enjoy your cute little clothespin snowmen!
If you don’t have clothespins handy, empty toilet paper rolls work well as a substitute.
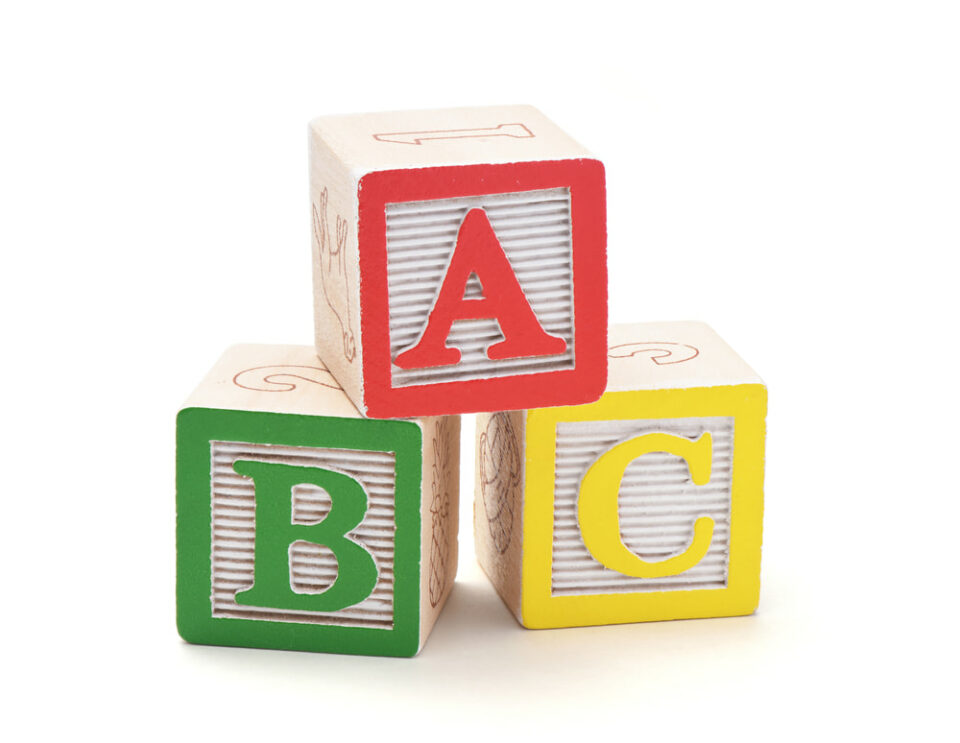
Alphabet Block Snowman
This one can get a little messy! Before making this cute snowman craft, ensure everyone is wearing a smock or clothes you don’t mind them getting paint on.
MATERIALS
- Wooden alphabet blocks
- Nontoxic acrylic paint in white, black, and orange
- Decoupage glue
- Paintbrushes (assorted sizes)
- Fabric scraps (optional)
DIRECTIONS
- Paint three alphabet blocks (per snowman) on all sides with white acrylic paint. Kids of all ages should be able to do this task, but you’ll want to keep a close eye on little ones to avoid spilled paint. Let the blocks dry completely before moving on to the next step.
- Use black acrylic paint and a small paintbrush to paint eyes and a mouth on one block (the snowman’s head) and buttons down the other two blocks (the snowman’s body). Use orange paint to create a carrot nose on the snowman’s face. Encourage your kids to get creative with the snowman’s expression and offer them help with the finer details if they need it. Let the blocks dry.
- An adult can seal the blocks with a decoupage glue and let them dry for 15–20 minutes.
Once dry, the blocks are fully stackable—not to mention adorable. If you want to make a snowman a little more jaunty, tie a scrap of fabric around the middle block to create a scarf. You can also use the blocks as toys; just hand them to the kids and let them play! Add to the fun by creating blocks with different faces, buttons, and scarves so your young ones can mix and match.
Snowman Bookmarks
These snowmen are a wonderful craft for young readers to keep for themselves or to give to another book lover they know.
MATERIALS
- Thin cardboard (like a cereal box)
- Light cardstock (white and patterned)
- Colored pens or pencils
- Paper clips
- Baker’s twine
- Child-safe scissors
- Packing tape
- Glue sticks
DIRECTIONS
- An adult creates a snowman out of cardboard by drawing two small circles on top of one another, approximately 3 inches (8 centimeters) tall, and then cutting the shape out. Cut a mitten shape of equal size from the same piece of cardstock. You now have stencils!
- Using the stencils, help your kids trace and cut out several snowmen from the white cardstock and several mittens from the patterned cardstock.
- Give each child two snowmen, four mittens, one paper clip, and one piece of twine. Let the kids decorate one of their snowmen with pens or colored pencils. They can draw a face, a scarf, earmuffs, and anything else they want to make their snowman special.
- Take the blank snowmen and place a paper clip at the bottom of each so half of the clip is sticking out and can be secured to the page of a book. Help your kids secure the clip to the snowman with packing tape and trim off any excess.
- Using a glue stick, attach the blank snowmen to the back of the decorated ones. Let them dry.
- While the snowmen dry, have your kids cut a 5-inch (13-centimeter) piece of twine and fold it in half. Put the two ends of the twine through the bottom arc of the paper clip, and then run them through the loop at the opposite end of the twine and pull tight. (Kids may need assistance with this). This will secure the twine to the paper clip.
- Finally, use your glue stick to glue the mittens to the ends of the twine. There should be two mittens secured back-to-back with the twine sandwiched between them on each strand. Let the glue dry. Your snowmen now have dangling mittens!
The paper clip end of the snowman acts as a placeholder while the snowy friend pokes out of the top of a book. Your kids can give this clever little bookmark to a teacher, family member, or friend as a whimsical wintry gift, or they can keep it for themselves.
Explore the Wonders of Winter with Crafts
Creating things as a family makes the holiday season a little more magical. With these easy snowman crafts you can make at home, you can help your kids unleash their creativity and ignite their imaginations. Encourage them to think outside the box and come up with fun and unique ways to use their creations.
Still in the mood to craft? Give your snowmen a friend with this cute Santa cone or learn about other holiday decorations with our global holiday village full of printable templates and easy crafts. If your kids crave an outdoor winter activity, give snow painting a try—just remember to have the hot chocolate ready when they come back inside!