
Splash Them Up! Four Tips on How to Tie-Dye Shirts
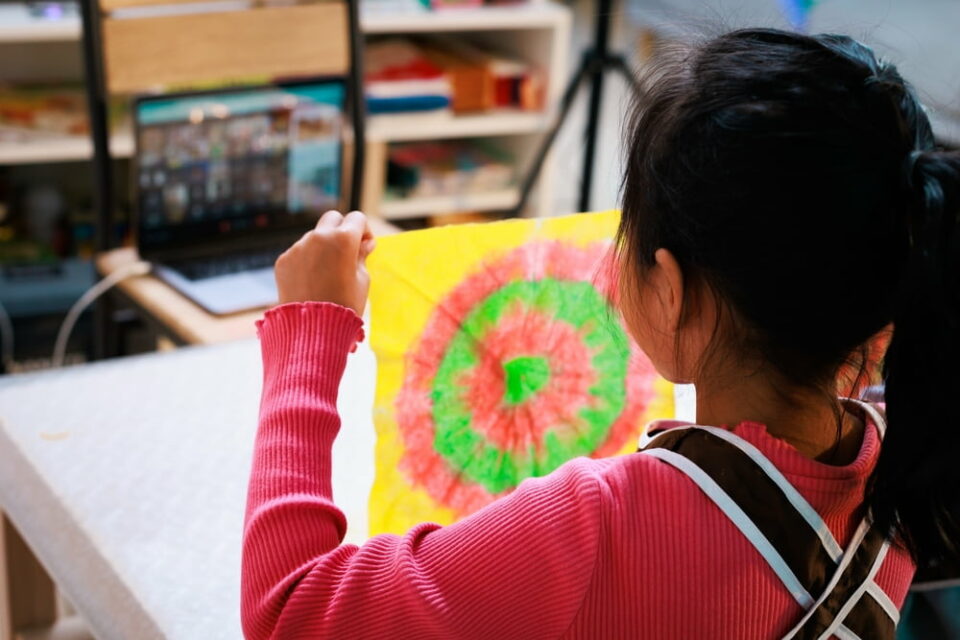
Any art that your child creates feels special. But getting to wear that art takes the experience to another level. That’s why tie-dyeing can be a fun family project. This kaleidoscope craft is a groovy throwback to the 1960s and 1970s, although it continues to be popular today. With some help, your young artist can create a fun piece of wearable art.
Many tie-dye patterns are easy enough for young beginners, too.
DIY Dyeing
Getting ready to tie-dye shirts requires preparation best handled by adults and older children. It can be a messy craft, so wear aprons or clothes you don’t mind staining, and lay everything out beforehand. We suggest doing this activity outdoors, but whether you work inside or out, protect work surfaces and the floor or patio with plastic sheets or old tablecloths. Be sure to also keep plenty of rags nearby to mop up any spills.
Materials
You could buy a tie-dye kit from the craft store, but if you prefer to use supplies already on hand, here’s what you need:
- A white or light-colored T-shirt
- Assorted colors of one-step fabric dye, mixed according to the manufacturer’s instructions
- White vinegar
- Rubber gloves
- Aprons or smocks
- Plastic squirt bottles. You can reuse clean mustard or ketchup squeeze bottles. Measuring cups also work in a pinch.
- Zip ties, hair ties, or rubber bands
- Large, sealable plastic bags
- Trash bags
- Bucket
- Plastic sheeting or tablecloths
- Rags or paper towels
Directions
- Gather your supplies.
- Protect your workspace by laying down the tablecloths and sheeting. Wear gloves, smocks, and aprons to protect your clothes.
- Mix fabric dye, following the step-by-step directions provided by the manufacturer.
- Pre-soak your T-shirt in a mixture of one part vinegar and one part warm water for an hour.
- Dye your shirt by following the instructions for your chosen pattern (see below).
- Place your T-shirt into a resealable plastic bag. Remove the shirt after one to two hours if you prefer pastel tones. For a brighter color, allow the dye to process for at least eight hours and up to 24 hours.
- Once the dye sets, wear your gloves and pull the shirt out of the plastic bag. Leave the rubber bands on, and rinse under a cold tap until the water runs clear.
- Remove the rubber bands and run the shirt through the cold-water wash cycle in your washing machine to remove the excess dye.
- Allow the shirt to air dry, or toss it into the dryer on the lowest heat setting.
- Clean up your work area and dispose of any unused dye.
- Your far-out DIY tie-dye T-shirt is ready for compliments!
NOTE: When laundering your tie-dyed shirt for the first time, wash it separately to prevent staining other articles of clothing.
Variations
You can also tie-dye a shirt with food coloring. Mix eight drops of food coloring in a half cup of warm water to create the dye. You’ll also have to let the dye set for at least eight hours by placing the T-shirt in a resealable plastic bag or wrapping it in plastic wrap. To rinse, mix one part salt with one part cold water and pour the solution over the T-shirt until the water runs clear.
Get in the Groove: Tie-Dye Patterns for Everybody
First-time dyers have plenty of different tie-dye techniques to choose from. Follow these helpful tutorials to create popular patterns.
Crumple Pattern
- Place the shirt flat on your work surface.
- Scrunch and crumple the fabric into a tight disk.
- Secure the disk with several rubber bands—the tighter, the better.
- Using a squeeze bottle, apply one tie-dye color to the entire shirt. The fabric should be fully saturated but not dripping wet.
Ring Pattern
- Place the shirt flat on your work surface.
- From the center of the shirt, pinch the top layer of fabric into a fist-sized ball.
- Secure the base of the ball with several rubber bands at the same spot. You can also add other rubber bands at different points on the ball to create a bull’s-eye pattern.
- Pour the dye over the shirt until it’s fully saturated but not dripping wet.
Stripes Pattern
- Place the shirt flat on your work surface.
- Starting on one side of the shirt, fold both layers of fabric to create a two-inch pleat. Continue creating accordion pleats until you have folded the entire shirt like a fan.
- Secure the pleats using rubber bands placed an equal distance apart.
- Dye each section a different color, leaving some space around the rubber bands so the colors don’t mix. The fabric should be fully saturated but not dripping wet.
Spiral Pattern
- Place the shirt flat on the work surface.
- Pinch the center point of the T-shirt with one hand. With the other, spin the fabric clockwise to create a spiral shape until the entire shirt is gathered around your hand and you’re left holding the middle of the shirt.
- Without picking up the shirt, secure the fabric into a spiral shape using rubber bands. Use more rubber bands to divide the circle of fabric into sections like a sliced pizza.
- Dye each section with a different color, leaving a bit of undyed space on either side of the rubber bands so the colors don’t bleed together.
- Flip the shirt over and repeat on the other side to create a matching spiral tie-dye pattern. The fabric should be fully saturated but not dripping wet.

Tips for Successful Dyeing
- White T-shirts made entirely of cotton are ideal for tie-dye projects, as is clothing made from natural fibers. If you can’t find a 100-percent cotton shirt, a blend of 80 percent cotton and 20 percent synthetic fabric will work. Anything with less cotton won’t be colorfast and will run when washed.
- Tie-dye shirts with rubber bands whenever you can. Rubber bands compress the fabric, which creates interesting patterns.
- Don’t limit creativity—yours or your child’s—to T-shirts. Try tie-dyeing socks, sweatpants, headbands, and even sneakers. And if you’re feeling daring enough, try dyeing a set of bed sheets.
- Get an older child’s friends in on the fun by throwing a tie-dye party for their birthday. Guests will leave the party with a unique keepsake.
Keep your child’s creative juices flowing with fun DIY crafts like reusing wrapping paper or building a magical snow globe. They can even make a feeder to keep the birds in the neighborhood well-fed and happy.
Does your child love engaging with the world through crafts? Why not introduce them to our World Edition subscription box? Each month is a new adventure with hands-on activities, stories, and souvenirs from around the globe.