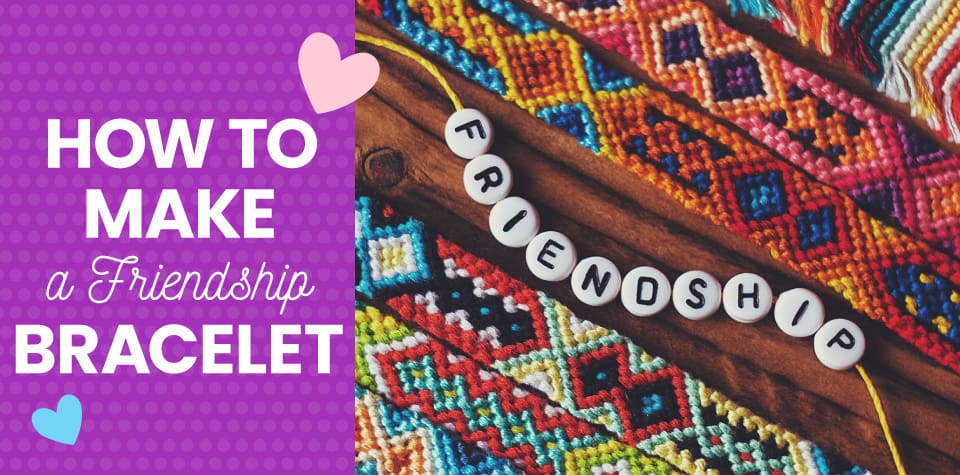
How To Make a Friendship Bracelet Using Colorful Patterns
For many, one of the most memorable activities from sleepaway camp or weekend slumber parties is learning how to make friendship bracelets. These colorful woven bands are a classic wrist accessory that serves as a reminder of the giver, symbolizing the bond they share with the receiver.
Friendship bracelets as we know them today started gaining popularity in the seventies and eighties, eventually becoming a staple of arts-and-crafts sessions. But for many cultures around the world, the custom actually dates back several centuries—or longer. Woven bracelets similar to those that kids make today have historic roots in the many indigenous cultures of North, Central, and South America, and the tradition of wearing bracelets with tied knots began more than 2,000 years ago in ancient China.
Easy to make and loaded with meaning, it’s no surprise why these one-of-a-kind gifts have been popular among so many peoples and for so many years. Best of all, the process is easy to learn, and once your children have mastered the fundamentals, they can begin experimenting with different bracelet techniques and patterns.
How to Make Friendship Bracelets
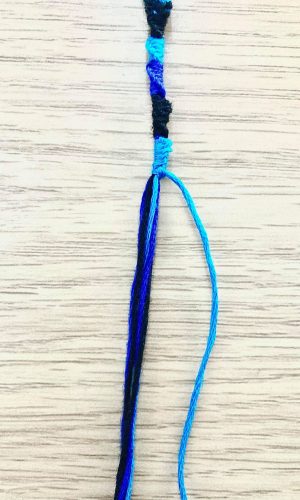
Making a friendship bracelet usually requires 3 to 6 strands of embroidery thread. The basic technique involves tying a series of simple knots across multiple strands of thread to create a colorful band.
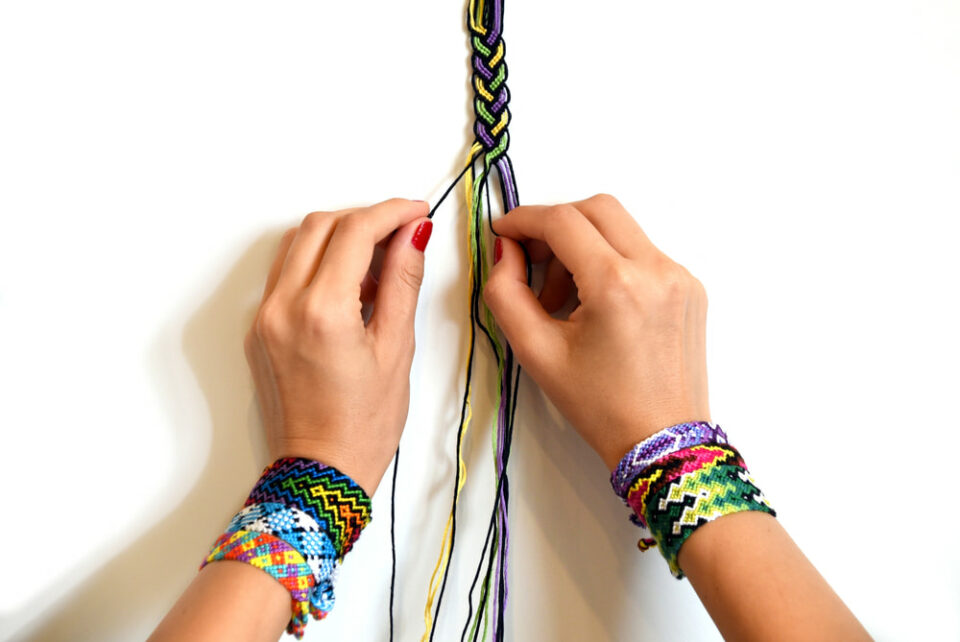
Here are step-by-step instructions for how to make a friendship bracelet with 4 or 5 strings of thread. Make one alongside your young crafters so you can guide them along the way—and also join in the fun!
Materials
- Embroidery thread in 4 or more different colors
- A clipboard or sturdy piece of cardboard to create a flat surface
- Tape
Basic Friendship Bracelet Knots
Forward Knot

1. Take the leftmost strand of thread and bend it over the strand to its right to create a “4.”

2. Wrap the tail of the “4” around the other strand by pulling the tail out through the open space of the “4.”

3. Hold the other strand straight and tighten the knot so that it reaches and touches the top knot. Repeat the forward knot with the same strands you just used. (Friendship bracelets always need double knots—otherwise, they become twisted).
Backward Knot

1. Take the rightmost strand of thread and bend it over the strand to its left to create a backward “4.”

2. Wrap the tail of the backward “4” around the other strand by pulling the tail out through the open space of the backward “4.”

3. Hold the other strand straight and tighten the knot so that it reaches and touches the top knot. Repeat the backward knot with the same strands you just used.
Candy Stripe
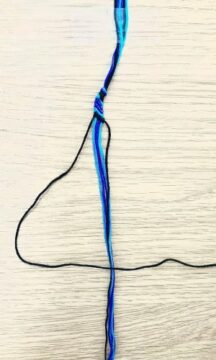
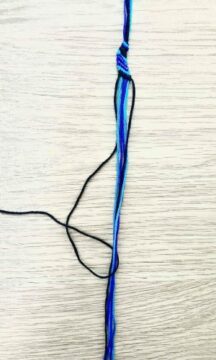
1. Choose as many colors of embroidery thread as you’d like. The more colors you include, the wider your bracelet will be. Cut the thread to about 32 inches and tie the strands together, leaving a 3-inch tail. Secure the bracelet to a sturdy surface with a piece of tape.
2. Arrange your colors in the order you want them to appear. Working from left to right, tie 2 forward knots around the strand to its right.
3. The strand you just tied will have moved one slot to the right. Repeat step 2 with the rest of the strands in the row until the color you began with is all the way to the right.
4. Repeat steps 2 and 3 with the new leftmost strand and work your way across the row.

5. As you continue this process, you’ll begin to see stripes forming down your bracelet. Continue making new rows until your bracelet is the desired length.
6. To finish your bracelet, tie a knot as close to the patterned rows as possible. Leave a 3-inch tail and cut.
7. Tie the bracelet around a friend’s wrist and celebrate the beauty of friendship!
Simple Knot
1. Choose as many colors of embroidery thread as you’d like. Cut the thread to about 32 inches and tie them together, leaving a 3-inch tail. Secure the bracelet to a sturdy surface with a piece of tape.
2. Pick a color to start with. Using your starting color’s strand, make a forward knot around the rest of the strands.
3. Repeat step 2, switching colors as often as you’d like. Continue until your bracelet reaches the desired length.
4. To finish your bracelet, tie a knot as close to the patterned rows as possible. Leave a 3-inch tail and cut.
5. Tie the bracelet around a friend’s wrist and celebrate the beauty of friendship!
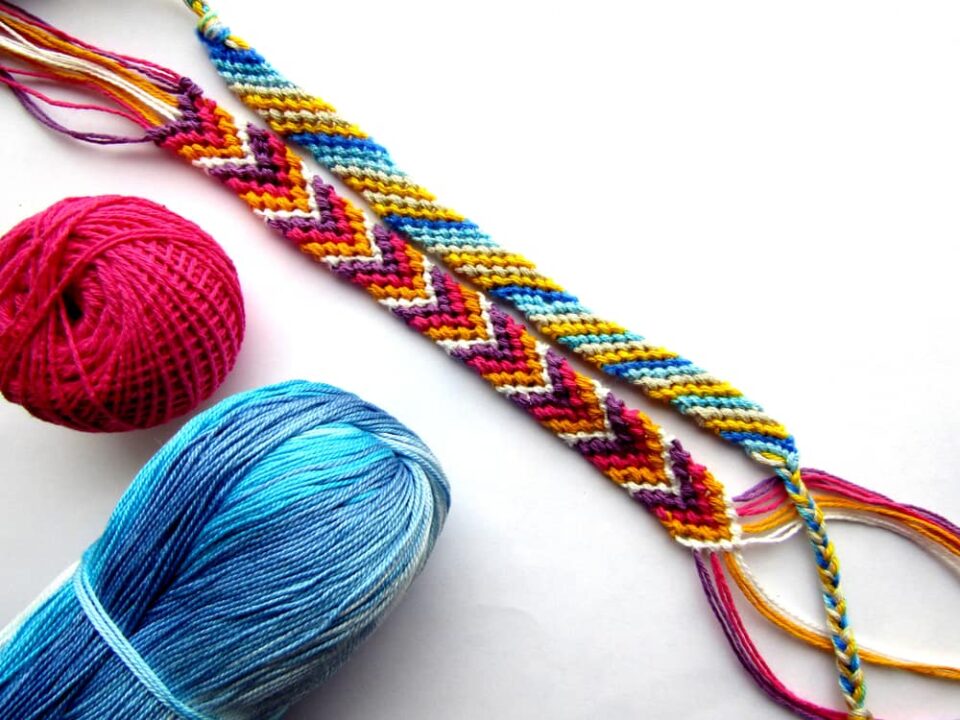
Chevron
1. Choose as many colors of embroidery thread as you’d like. The more colors you include, the wider your bracelet will be. Cut the thread to about 32 inches and tie them together, leaving a 3-inch tail. Secure the bracelet to a sturdy surface with a piece of tape.
2. Arrange your strands so that the color order mirrors itself. Take the leftmost strand and tie 2 forward knots around the strand to its right.
3. Take the rightmost strand and tie 2 backward knots around the strand to its left. Both outside strands should now be one spot closer to the center.
4. Repeat steps 2 and 3 with the remaining strands until the original outside strands are both in the center.
5. To complete the chevron row, knot the 2 center strands around each other twice. It should look like a V.
6. Repeat steps 2 through 5 until your bracelet reaches your desired length.
7. To finish your bracelet, tie a knot as close to the patterned rows as possible. Leave a 3-inch tail and cut.
8. Tie the bracelet around a friend’s wrist and celebrate the beauty of friendship!
Untangling the Mystery: The Meaning Behind Friendship Bracelets
Some crafters build meaning into their friendship bracelets by choosing colors that represent the recipient’s qualities and characteristics or a wish they have for that person. For example, if your kids are creating a bracelet for a best friend who’s about to go on a trip, they might choose a strand of red for adventure, yellow for spontaneity, purple for luxury, and white for kindness.
Color symbolism changes over time and between different cultures, so feel free to combine them as you like. Below are a few general suggestions your children can use for inspiration if they’d like, but you can also invite them to invent their own meanings. Remember, when it comes to friendship bracelet patterns and colors, anything goes!
- Red: life, good luck, adventure
- Orange: joy, excitement, determination
- Yellow: friendliness, positivity, creativity
- Green: growth, compassion, nature
- Blue: serenity, inspiration, loyalty
- Purple: ambition, luxury, friendship
- Pink: playfulness, hope, affection
- Black: mystery, energy, power
- Brown: resilience, comfort, reliability
- White: kindness, clarity, peace
Are you on the lookout for more arts and crafts ideas? Make a splash with a colorful tie-dye shirt activity, perfect for aspiring artists. If your kids are interested in learning origami, help their creativity bloom and create a bouquet of paper flowers or show some love with an adorable paper heart craft.
Want to expose your children to more places and cultures? Bring the world to their doorstep with our World Edition activity subscription box. They’ll be able to explore a host of wonders through stories, hands-on activities, and games that will give them a taste of new cultures and places to visit.