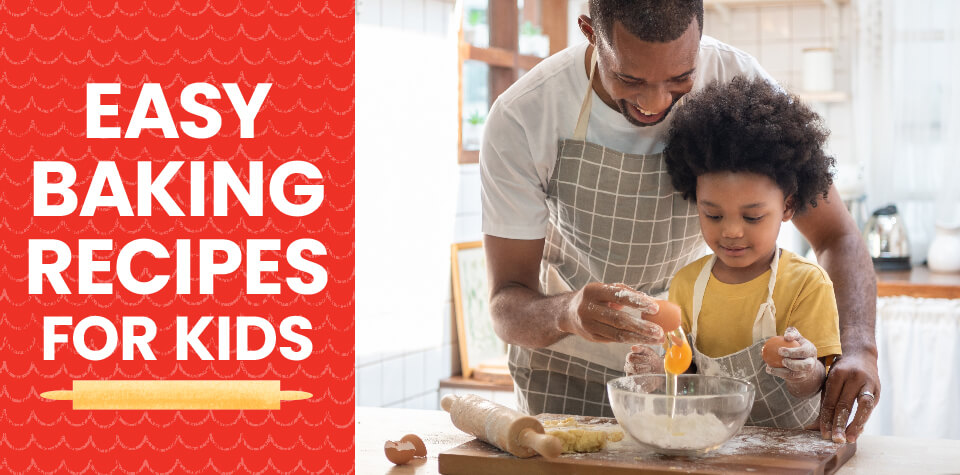
Welcome Your Children to the Kitchen with Three Easy Baking Recipes
Baking has a magical way of bringing the whole family together. There’s no denying that special something children feel when they find a homemade cupcake in their lunchbox or dunk a freshly baked chocolate chip cookie in a tall glass of milk. As delicious as they are, treats like these taste even sweeter when your kids experience the joy of creating them with you. That’s because, for them, every step is an adventure they’re sharing with someone they love.
Ready to give these easy baking recipes for kids a try? Here are a few tips to help you and your young chefs get started:
- Premeasure all the ingredients. Not only will this prevent big spills, but it will also speed up the process so kids get the satisfaction of seeing their finished products faster.
- Use big bowls (bigger than you think you’ll need). Mixing and whisking are excellent jobs for kids—but if they get too enthusiastic, you’ll want a bowl that can contain the splashes and flying flour.
- Teach the kids to clean up. Baking is an excellent opportunity to show your children how to tidy up as they go. They’ll learn a valuable lesson, and you won’t have a giant mess to clean up after the baked goods come out of the oven.

Baking Essential Ingredients
Before you start any fun baking recipe with your kids, check the pantry. Whether you’re making sponge cake, brownies, or cherry pie, there are some ingredients you’ll probably need, like:
- Flour: This gives your baked goods structure and creates gluten.
- Leaveners (baking soda, baking powder): These ingredients react with specific recipe components to make the baked goods rise. Baking soda reacts with acidic ingredients like buttermilk, lemon, or yogurt, while baking powder reacts with a recipe’s wet ingredients.
- Salt: Salt brings out the flavors in a dish, which is why it belongs in almost everything, even many sweet treats.
- Sugar: Most recipes call for granulated sugar but check your recipe to see whether you need something special, like light or dark brown sugar or confectioners’ sugar.
- Dairy: If you’re making donuts or following a cake recipe, you might need milk to give your baked goods extra moisture.
- Fats: Another way to add moisture to your baked goods is to use fats like eggs, butter, and oil. Make sure you have enough in the fridge before you start—you don’t want to wind up one egg short.
- Extracts, spices, and add-ins: You’ll need ingredients including vanilla extract, cinnamon, and chocolate chips to make many yummy recipes more flavorful.
Three Kid-Friendly Baking Recipes to Make with Kids
Once you have all the essentials, you’re ready to make some treats with the kids. Here are three easy baking recipes for beginners from America’s Test Kitchen Kids, our partners on the Kitchen Adventures subscription box, for your family to try.
(Each recipe uses tools and appliances that require adult supervision. You are the best judge of your child’s abilities. Please read through each recipe to determine its suitability for a particular child and assess how much assistance will be needed.)
Simple Cream Scones
If you’re having tea in the British Isles, you may be served a scone alongside it. These tasty baked treats originated in Scotland in the sixteenth century and are still a staple snack in the United Kingdom and Ireland.
INGREDIENTS
- 2 cups (10 ounces) all-purpose flour
- 3 tablespoons sugar
- 1 tablespoon baking powder
- ½ teaspoon salt
- 5 tablespoons unsalted butter, cut into ¼-inch pieces and chilled
- 1 cup (8 ounces) heavy cream
DIRECTIONS
- Adjust oven rack to middle position and heat oven to 425 degrees. Line rimmed baking sheet with parchment paper.
- Place flour, sugar, baking powder, and salt in food processor. Lock lid into place. Turn on processor and process mixture for 3 seconds. Stop food processor.
- Remove lid and sprinkle chilled butter over flour mixture. Lock lid back into place. Hold down pulse button for 1 second, then release. Repeat until mixture looks like coarse crumbs, about ten 1-second pulses. Remove lid and carefully remove processor blade.
- Transfer flour-butter mixture to large bowl. Add cream and use rubber spatula to stir until just combined and no dry flour is visible. Do not overmix.
- Transfer mixture to clean counter and use your hands to gather and press mixture until dough forms and holds together, 5 to 10 seconds. Use your hands to pat dough into 8-inch circle, about ¾ inch thick. Use bench scraper (or butter knife) to cut circle into 8 wedges.
- Place baking sheet in oven. Bake until scones are light brown on top, 10 to 14 minutes.
- Use oven mitts to remove baking sheet from oven. Place baking sheet on cooling rack and let scones cool on baking sheet for 15 minutes.
- Transfer scones directly to cooling rack. Let cool for 30 minutes before serving.
Spiced Sesame Cookies

These spiced cookies are a traditional treat in Egypt during Eid al-Fitr, a celebration at the end of Ramadan.
INGREDIENTS
- 1½ cups (7½ ounces) all-purpose flour
- ½ cup (2 ounces) confectioners’ (powdered) sugar, plus extra for dusting
- 2 tablespoons sesame seeds, toasted
- 1 teaspoon ground cinnamon
- ½ teaspoon baking powder
- ⅛ teaspoon table salt
- ⅔ cup ghee, melted, or 10 tablespoons unsalted butter, melted
- ⅓ cup (2⅔ ounces) milk
- 1 teaspoon vanilla extract
DIRECTIONS
- Adjust oven rack to middle position and heat oven to 350 degrees. Line baking sheet with parchment paper.
- In large bowl, whisk together flour, confectioners’ sugar, sesame seeds, cinnamon, baking powder, and salt.
- Add melted ghee, milk, and vanilla to flour mixture. Use rubber spatula to stir until no dry flour is visible and soft dough forms.
- Use your hands to roll dough into 24 balls (about 1 level tablespoon each). Place dough balls on parchment-lined baking sheet, leaving space between dough balls.
- Gently flatten each ball. Use side of fork to firmly press diamond crosshatch pattern in each cookie.
- Bake cookies until light golden brown, 20 to 24 minutes. Let cookies cool completely on baking sheet, about 30 minutes.
- Add 1 to 2 tablespoons confectioners’ sugar to fine-mesh strainer. Hold strainer over cookies and tap to dust lightly with sugar.
Pão de Queijo

These little buns are a breakfast staple in their home country, Brazil. In fact, they were so popular with Brazil’s late president Itamar Franco that he is said to have made pão de queijo (“cheese bread” in English, pronounced “pow-je-kay-ju” in Portuguese) mandatory at all government meetings. Warm and doughy, these tiny cheese-filled (and gluten-free) rolls are the perfect snack to fill hungry tummies at breakfast—or whenever! If it’s a soft and savory treat that’s easy to make at home you’re craving, pão de queijo might just become mandatory for your family, too.
INGREDIENTS
- Vegetable oil spray
- 1 cup (8 ounces) whole milk
- 1 cup shredded extra-sharp cheddar cheese (4 ounces)
- 1 cup grated Pecorino Romano cheese (2 ounces)
- ⅓ cup extra-virgin olive oil
- 2 large eggs
- 1 teaspoon table salt
- 2 cups (8 ounces) tapioca starch
DIRECTIONS
- Adjust oven rack to middle position and heat oven to 375 degrees. Spray 12-cup muffin tin with vegetable oil spray (making sure to get inside each cup).
- Add milk, cheddar cheese, Pecorino cheese, oil, eggs, and salt to blender. Add tapioca starch. (Make sure to add the tapioca starch last, or the mixture will turn to glue in the blender.) Place lid on top of blender and hold lid firmly in place with folded dish towel. Process on high speed for 30 seconds. Stop blender.
- Use rubber spatula to scrape down sides of blender jar. Replace lid and process on high speed until smooth, about 30 seconds. Pour batter evenly into greased muffin tin cups, filling each cup about three-quarters full.
- Place muffin tin in oven and bake until rolls are golden and puffed, 25 to 30 minutes.
- Use oven mitts to remove muffin tin from oven. Place muffin tin on cooling rack and let rolls cool in muffin tin for 5 minutes.
- Run butter knife around edges of rolls to loosen from muffin tin (tin will be very hot). Using your fingertips, gently wiggle rolls to remove from muffin tin and transfer directly to cooling rack. Serve warm.
Have a Treat … and Lots of Fun!
Making these easy treats with kids helps them see what a joy cooking together can be, while you enjoy the thrill of watching them learn. Baking for kids is fun and delicious! If your young chefs loved trying their hands at baking these simple delights, perhaps they’ll also want to explore other fun recipes. Before you know it, the whole family will be bustling around the kitchen together!
Are your young chefs craving more in the kitchen and beyond? Send their curiosity soaring around the globe with our Kitchen Adventures subscription box. Every month, they’ll receive kid-friendly recipes and kitchen tools, explore world cultures with fun hands-on activities and games, and build practical skills and confidence as they learn to cook with you.