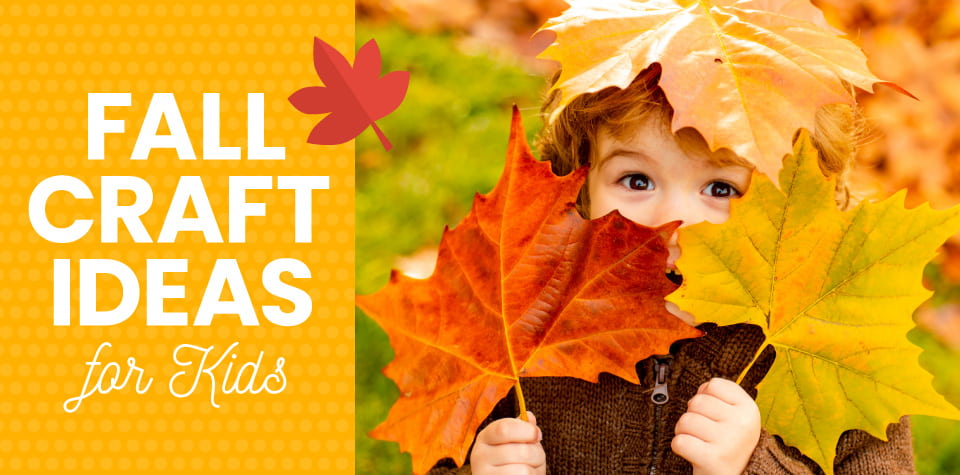
Celebrate the Changing Seasons with 6 Fall Craft Ideas for Kids
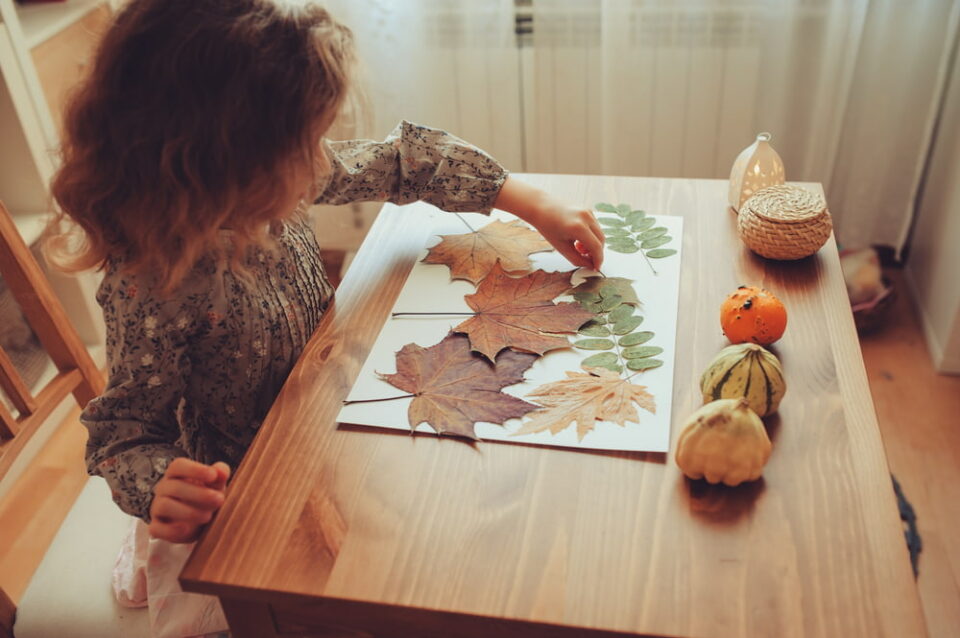
Fall is here! Time to enjoy a plate of sweet pumpkin pie, cozy evenings by the fire, and fun family get-togethers. In many places, it’s also the perfect opportunity to take a long rambling nature walk through the woods to collect supplies for easy fall crafts. Colorful leaves, acorns, seeds, and other materials are just waiting to be gathered and turned into a fun family activity when your kids need a breather from diving into piles of raked leaves.
Not sure what to do with nature’s bounty? Here are a few fall craft ideas for kids of all ages to spark some creative and colorful projects of their own.

Autumn Crafts for Kids
Owl Craft
Whooo’s ready to make a simple autumn craft with items you can collect from beneath the trees (plus leftover pumpkin seeds from jack-o’-lantern carving)? Spoiler alert: The result is a fun and seasonal friend your young ones will have a hoot with!
Materials:
- Bark
- Acorns
- Pumpkin seeds
- Moss
- Craft glue
- Modeling clay
Directions:
Your child can perform every step with minimal supervision.
- Show kids how to gently chip a piece of bark into the shape of an owl by breaking off pieces with their hands.
- To create eyes, pop the caps off the acorns and glue them to the bark.
- Add a beak by gluing a pumpkin seed beneath the eyes.
- Glue two pieces of moss, one on each side of the body, to create wings.
- Give the owl some feet by gluing two twigs to the bottom of the bark.
- Mold modeling clay around the feet to prop the owl up for display.
Variations:
How many other fall animals can your children create using these simple materials? A squirrel? A mouse? It’ll be fun to find out.
Melted Leaf Suncatchers
Kids will love adding fall foliage-inspired beauty to their space using wax paper and crayons to create colorful DIY suncatchers. This craft is also a fun way to give new life to broken pieces of crayon hiding at the bottom of the art box.
Materials:
- Wax paper
- Autumn-colored crayon pieces (such as red, brown, yellow, and orange)
- Grater
- 2 old dish towels
- Iron
- Markers
- Leaves
- Child-safe scissors
- Double-sided tape
Directions:
Adults should be in charge of melting the shredded crayons, and if you don’t have child-safe scissors, leave the leaf-cutting to a grown-up.
- Show the children how to use the grater to carefully shred the crayons over a sheet of wax paper. Supervise to make sure their hands do not come close to the surface of the grater. Mix different colors of shredded crayon together to create a mottled effect.
- Layer a second piece of wax paper over the crayon shavings.
- (Adults only.) Place the project between two dish towels. Gently iron the top dish towel using the medium-low setting.
- Flip the wax paper upside down and repeat. Continue flipping and ironing until the crayon wax is completely melted.
- Once the wax has cooled, show your child how to trace a leaf’s outline onto the wax paper with a marker.
- Cut around the leaf outline and stick the suncatcher to the window using double-sided tape.
Variation
Decorate your porch or front door with another family fall craft by encouraging your kids to glue their suncatcher leaves into a ring to create a colorful wreath.
Paper Roll Scarecrow
Want an autumn craft for kids that’s also good for the environment? Repurpose old paper towel or toilet paper rolls to create an adorable centerpiece for your Thanksgiving table.
Materials:
- Toilet paper roll or paper towel roll
- Paints
- Paintbrushes
- Brown and red construction paper
- Child-safe scissors
- Craft glue
- Googly eyes
- Yellow yarn
- Markers
- Fabric scraps (optional)
Directions:
Children should be able to do most of the work on this craft project themselves. If you don’t have child-safe scissors, have an adult cut out the brim of the scarecrow’s hat.
- If necessary, paint the top quarter of the roll brown for the hat. Paint the bottom half orange, leaving a portion in the middle unpainted for the face.
- Make hair by gluing pieces of yellow yarn around the border between the middle section and the top section. Kids can also glue pieces of yarn to the scarecrow’s body to simulate hay poking through the clothes.
- Using a marker, show the kids how to draw a circle on the brown construction paper using the edge of the tube as a stencil. Then have them draw another circle one inch wider than the first. Cut out the larger circle, then cut out the smaller circle to create a ring. Slide the ring onto the toilet paper roll to form the hat brim. Adding a drop of glue to the underside of the brim where it meets the tube will keep it from sliding down.
- Make a face by gluing two googly eyes and a red construction-paper triangle nose to the middle portion of the tube. If you have old fabric scraps lying around, glue them to the body to create clothes. Draw on a grin, and you have a scarecrow!
Variations: Use green and black paint to turn a toilet paper tube into a witch for Halloween. Or create a mummy figure by painting the entire roll black, then wrapping and gluing white tissue or toilet paper around the roll. Play around and see what other scary monsters you and your child can make together.
Fall: The Season of Color
Fall is all about color. Your children are sure to notice the leaves changing from green to vivid shades of red, orange, yellow, and purple as they play outside. But why do leaves change color in the fall?
Chlorophyll gives leaves their green color and helps plants turn sunlight into food through photosynthesis. As the weather cools and the nights grow shorter, plants make less and less chlorophyll. That’s when the other pigments take center stage, turning leaves yellow, orange, and red. Every leaf has at least one color pigment. Carotenoids turn leaves yellow and orange. Anthocyanin gives red leaves (and cranberries, cherries, and other red fruits) their distinctive ruby hue. Some trees, like elm, don’t have any pigments besides chlorophyll, so their leaves go straight from green to brown in fall.
Keep your eyes open for these great natural art materials to give projects pops of color.
- Red: Cranberries, oaks, sourwood, red maple
- Orange: Pumpkins, carrots, hickory, sugar maples
- Yellow: Squash, corn, golden poplar, aspen
- Purple: Eggplant, some varieties of Indian corn, dogwood
- Brown: Bark, dried corn stalks, beech, striped maple
- Green: Most conifer trees stay green all year, so look for cedar, pines, and juniper
If your child wants to keep exploring the effects the changing seasons have on the trees around them, they’ll enjoy this free printable guide to leaf-peeping. They’ll also delight in all the different fall harvest festivals, like the Chinese mid-autumn celebration with its delicious mooncakes or the Jewish Sukkot festival with its tents and family potlucks.
Keep your child’s cultural curiosity engaged with a subscription to our World Edition box. Each month, fun hands-on activities, stories, and games will introduce them to a new country and its traditions and holidays. Discover the far-flung corners of the world while having lots of fun!